
Both a blessing and a curse are stiletto nails. Even though they are currently quite fashionable, stiletto nails are difficult to make, despite how fierce they appear. Additionally, if you’re not careful, they could potentially take out one or both of your eyes. Making the decision to get stiletto nails can be great. However, due to the false impression that they are challenging to apply, consumers frequently avoid stiletto nails.
In fact, creating stiletto nails may be rather challenging and frustrating, especially if you are new to the nail art. However, with a little instruction and a few key pointers, you may easily learn how to apply stiletto nails. Stiletto nails may be recognized from normal nails quite easily, though. Stilettos are pointed shoes that gained their name from a different type of fashion item: stiletto heels. You may easily create stiletto nails by following the instructions in this article.
How do stiletto nails work?
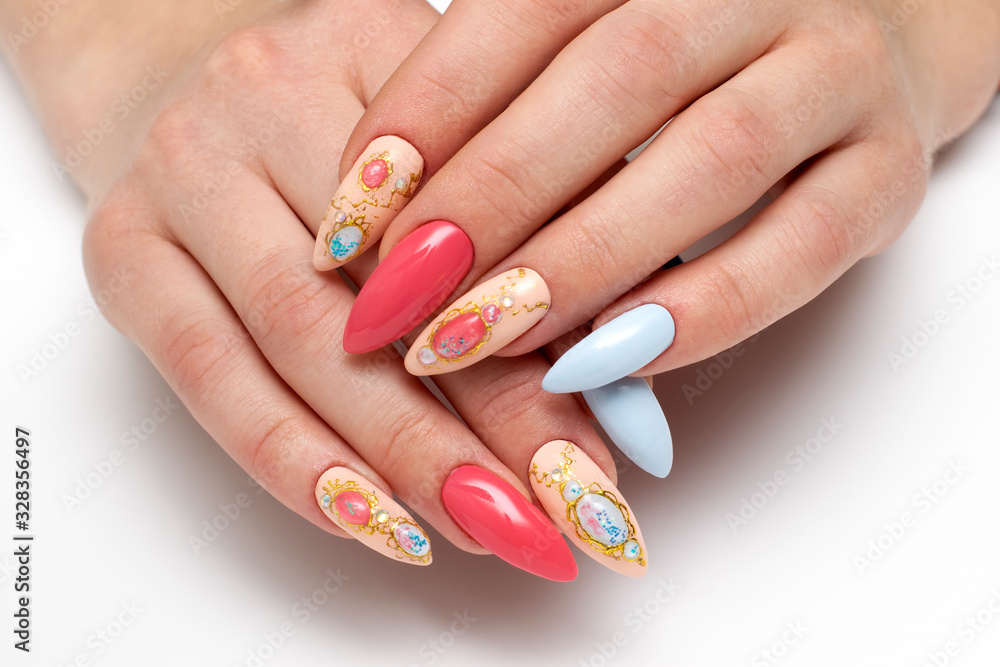
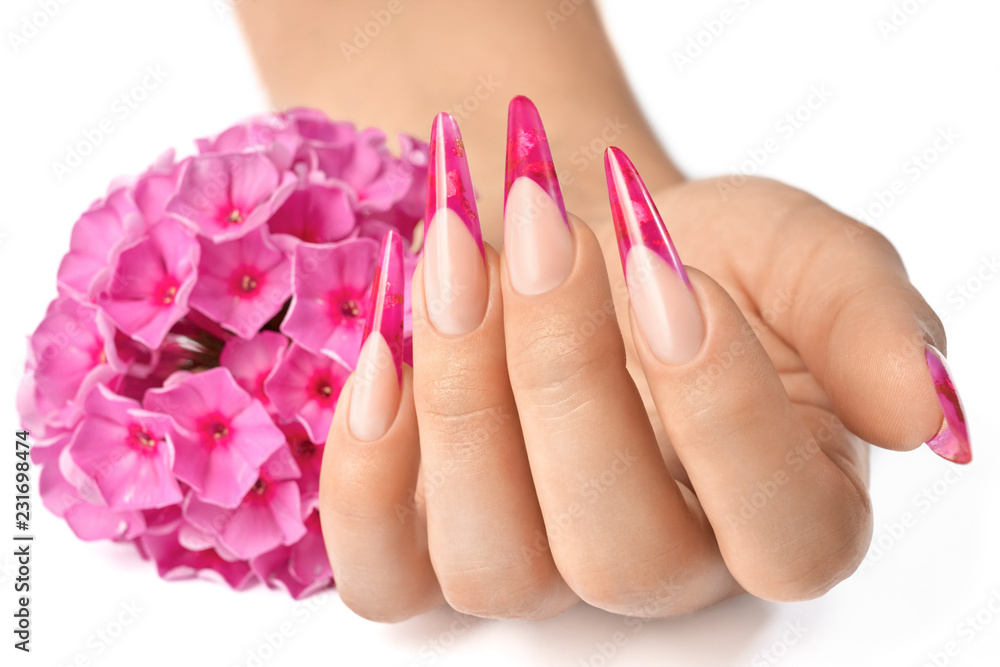
The appearance of the nails is the greatest method to describe stiletto nails. They are nails with a thin, pointed end after being filled. Claws are the first thing that comes to mind when you see a stiletto. There are additional nails that resemble stilettos, such as the almond (rounded or pointed with wide sides) and ballerinas (flattened at the top). The stiletto’s advantage is that it doesn’t need much polish to make them stand out. They are intimidating and draw attention.

A stiletto technique guide
If your natural nails are long, you should be good to go. On the other hand, if you have short nails, you might want to wait until they have grown a few millimeters before you begin. After clearing up that issue, gather the resources listed below:
- A decent set of nail files
- An adhesive
- A precise nail cutter
- Cuticle pusher
- A clear topcoat
- Selected nail paint hues
- Additional decorative components such as gems or decals
Shorten your nails
Make careful to arrange all the necessary things on the table in a line. You should start by cutting your nails as the initial step. Keep in mind to leave a small amount of nail space. When you have a few inches of natural nail on your finger rather than having it completely cut out, false nails will sit better on your finger. If you have nail polish on, make sure to take it off and wash your hands with soap and water before wiping them dry with a paper towel to remove any oil, body cream, moisturiser, etc. from your hands.
Take back your cuticles
The next step is to carefully push back your cuticles to make room for your false nails once your hands have been neatly groomed. Never press dry cuticles back. Injury may result from it. Simply bathing your hands in warm water for at least five minutes is one method you may employ to make them softer and simpler to deal with.
Be aware that cutting the cuticles, as many people do, is not safe. You can get infected with fungus as a result. In addition, as the cuticles regenerate, they may appear fragile and unsightly. The fashion community is still divided on this issue.
To protect your natural nails, apply a base coat
Ever notice how some women have unattractive, discolored, damaged natural nails? Several of the causes of that unattractive appearance are nail adhesive and some types of nail polish. We do not, however, downplay the impact of fungus infections on the nails, particularly when the fictitious nails are not adequately fastened or maintained.
Your natural nails may become damaged by the hazardous chemicals used in the creation of nail adhesive. Prior to applying your artificial nails, it’s crucial to give your natural nails a topcoat of protection. Additionally, take your time and wait until the topcoat has dried before moving on.
Use nail adhesive to thoroughly secure your false nails
If you’ve reached this stage, congrats! You’ve made great progress. You don’t need a lot of adhesives to fix your press-on or false nails, often known as acrylic nails. Since too much adhesive can harm your nails or make it harder to remove, only a drop applied to the artificial nail will do.
For effective bonding, press the fake nails against your natural nails and leave them in place for up to 10 seconds. Make sure there are no air bubbles because they can provide the ideal conditions for the growth of fungi. Allow them to properly bind by doing this for each of the ten fingers.
Nail glues can remain on for three to five days before being easily removed. So, think about using dual-sided tape to secure your nails if you intend to wear stilettos to a fashion show that will only last a few hours.
Make sure your false nails are in good shape
Before you start trimming your artificial nails into form, it’s crucial to make sure they are securely bonded. There are many different nail form alternatives. The collection of nail types includes almond nails, square nails, round coffin nails, and more. One of the most popular forms is unquestionably the stiletto. The length of stilettos might vary; however, you can shorten them to a length that is more comfortable. Trim your nails gradually with the nail clipper.
To prevent trimming the nails into unsightly narrow shapes or cutting them too short, don’t rush to acquire the nail shape all at once. If you’re still having difficulties getting in shape, it’s a good idea to label the nail’s centre as a guide before reducing the nails.
Start working with your nail file now
Your nails are currently fixed and have a convenient shape, but they still need more work before they are perfect. To make them smooth and pointed, you must file them well. When filing the nails, make sure to keep the pointed tip. You are not going to a sword fight, but it’s crucial to remember that stiletto nails can hurt if they are excessively pointed.
Apply nail polish, then add any finishing touches
Each person has a different preference for nail polish and manicure finishes. Whether you want short or long nail beds, matte or sparkly gel nails. It is entirely up to you to decide whatever colors and patterns suit you the best.
You might use a black nail finish or deeper hues if you want to project a more sombre and strong appearance. You might choose a flashy hue like red if you want to have that vintage sexy-chic look. By sticking with colors like pink, you can also decide to go for a more understated appearance.
Give your nail paint time to dry
The final step is all that remains. Allow the polish to dry for a few minutes. It’s possible that certain nail polish needs a UV light to cure. Checking to see if it pertains to the one you applied is essential. Apply a topcoat once your nail polish has dried fully.
Conclusion
The only constraint you can place on the stiletto is what you can imagine. Like with any other nail design, you have the option of keeping it straightforward or going completely off the rails with wild patterns. Hopefully, after reading this guide, you won’t ever need to ask someone how to stiletto. You are welcome to experiment with stiletto nails at home and discover all the amazing designs you’ve always wanted to create.