
How to build a custom bookshelf: step-by-step instructions
Creating a custom bookshelf is a rewarding DIY project that allows you to tailor the design to your specific needs and space and gives you a sense of accomplishment. Whether you’re an experienced woodworker or a novice, building a custom bookshelf is achievable with the right tools, materials, and instructions. This blog post will guide you to build a custom bookshelf, ensuring that it’s both functional and visually appealing.
Planning and designing your bookshelf
The first and most crucial step in building a custom bookshelf is thorough planning and design. Without a clear plan, you might encounter issues during construction, such as incorrect measurements or a design that doesn’t fit your space. Planning helps prevent these problems and ensures a smooth build.
Measuring your space
Accurate measurements are the foundation of your custom bookshelf project. Start by measuring the height, width, and depth of the area where you plan to place your bookshelf. It’s essential to account for any architectural elements interfering with the installation, such as baseboards, outlets, or vents.
For instance, if your bookshelf is built into a recessed area or around a doorway, measure the entire space, including the ceiling height and the wall’s width. Additionally, consider your ceiling height and how tall you want the bookshelf to be. If you’re planning to store books of varying sizes or add decorative items, consider this when deciding on the depth and height of each shelf.
Measuring tips
- Use a tape measure for precision.
- Record the measurements carefully and double-check them.
- Consider the future placement of electrical outlets or light switches to ensure they won’t be obstructed.
Choosing a design
After you’ve gathered your measurements, it’s time to design your bookshelf. The design should reflect your personal style while also being practical for the space and the items you plan to store.
Decide whether you want a simple, modern look with clean lines or something more traditional with decorative trim and moulding. If you have a lot of heavy books, you’ll need to design sturdy shelves that can support the weight. Open shelves might be the best choice for a minimalist look, while closed shelves with doors can provide a more polished appearance.
Sketching a blueprint or using design software can help you visualize the final product. This step is particularly important if you’re planning a complex design, such as a built-in unit that wraps around a corner or incorporates other furniture like a desk or entertainment centre.
Design considerations
- Determine the number of shelves you need and their spacing based on the height of your tallest books or items.
- Decide whether the shelves will be fixed or adjustable.
- Consider adding decorative elements such as crown molding or baseboards to match your room’s decor.
Materials and tools needed
With your design finalized, the next step is to gather all the materials and tools you’ll need to bring your bookshelf to life. Preparing everything before you start will save time and reduce the risk of mistakes.
Materials list
Choosing the right materials is crucial for the durability and appearance of your bookshelf. The type of wood you select will affect both the cost and the final look. For example, pine is affordable and easy to work with, while oak offers a more premium appearance and durability.
In addition to wood, you’ll need screws, brackets, wood glue, and finishing materials such as paint or stain. If you’re adding trim or moulding, purchase enough to cover your bookshelf’s edges.
Typical materials include
- Wood: Plywood for the shelves and solid wood for the frame and sides.
- Trim and molding: To enhance the design and cover raw edges.
- Paint, stain, or varnish: Depending on whether you want a painted or natural wood finish.
- Screws and brackets: To secure the shelves and ensure stability.
Tools list
The tools you’ll need depend on the complexity of your design and the materials you’re using. At a minimum, you’ll require tools for cutting wood, assembling the frame, and finishing the surface.
A table saw, or circular saw is essential for cutting large pieces of wood to size, while a drill will help you create holes and drive screws. Sanding is necessary for a smooth finish so that a power sander can save you time and effort. Clamps are useful for holding pieces together while you work, ensuring that everything stays aligned.
Essential tools include
- Saw: A table saw or circular saw for precise cuts.
- Drill: For creating holes and driving screws.
- Sander: To smooth wood surfaces before finishing.
- Tape measure: For accurate measurements throughout the project.
- Level: Ensure your bookshelf is straight and level at each step.
- Clamps: To hold pieces securely while assembling.
- Paintbrush or roller: For applying paint, stain, or varnish.
Building the bookshelf frame
With your materials and tools ready, it’s time to start constructing the bookshelf. The frame is the skeleton of your bookshelf, providing structure and support for the shelves.
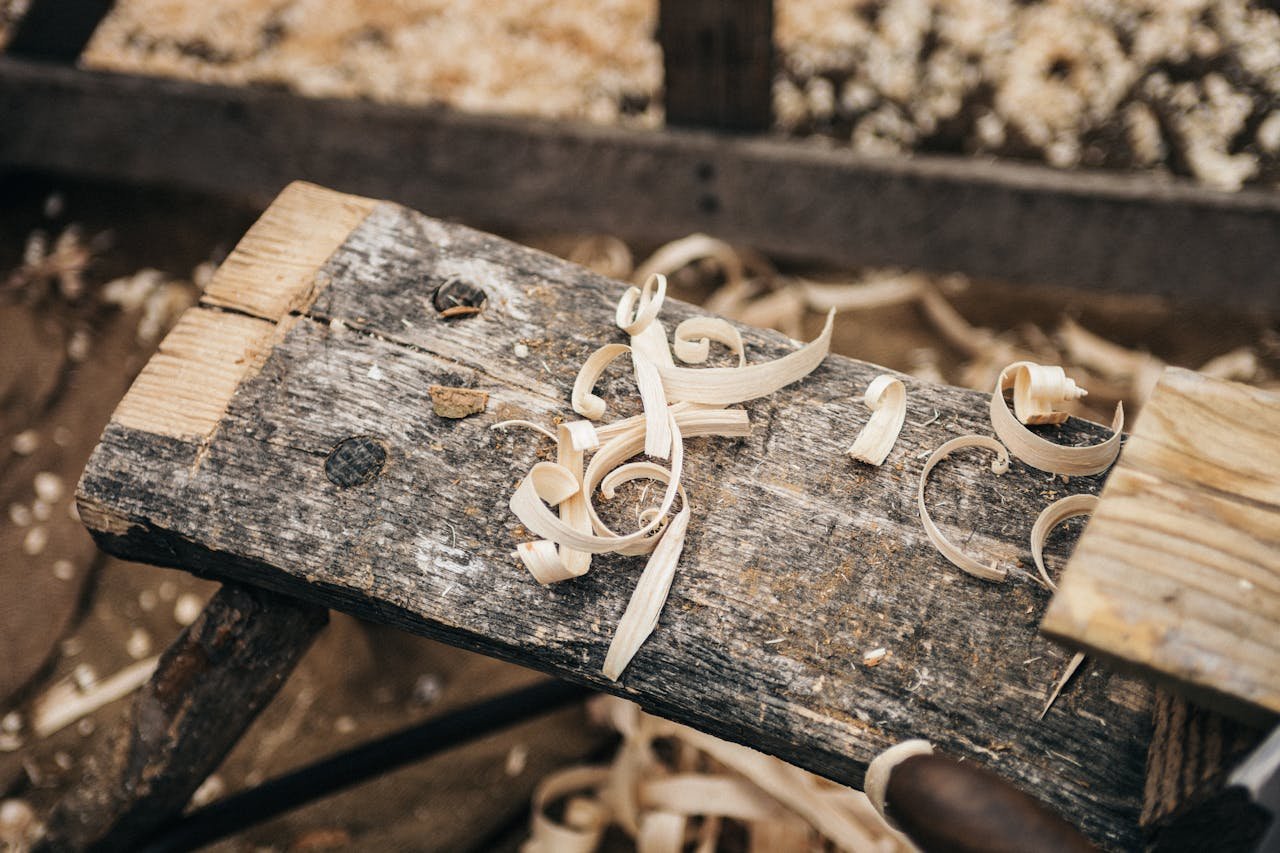
Cutting the wood
Begin by cutting all your wood pieces to the required sizes based on your design. A table saw will give you the most accurate cuts if you use plywood for the shelves. If you need to make straight cuts along longer boards for the sides, top, and bottom of the bookshelf, use a circular saw.
Double-check your measurements before cutting to avoid wasting materials. Safety should also be a priority, so wear protective gear such as goggles and gloves while cutting.
Cutting tips
- Measure twice and cut once to avoid mistakes.
- Use a straight edge or guide to ensure your cuts are straight.
- Keep your work area clean and organized to prevent accidents.
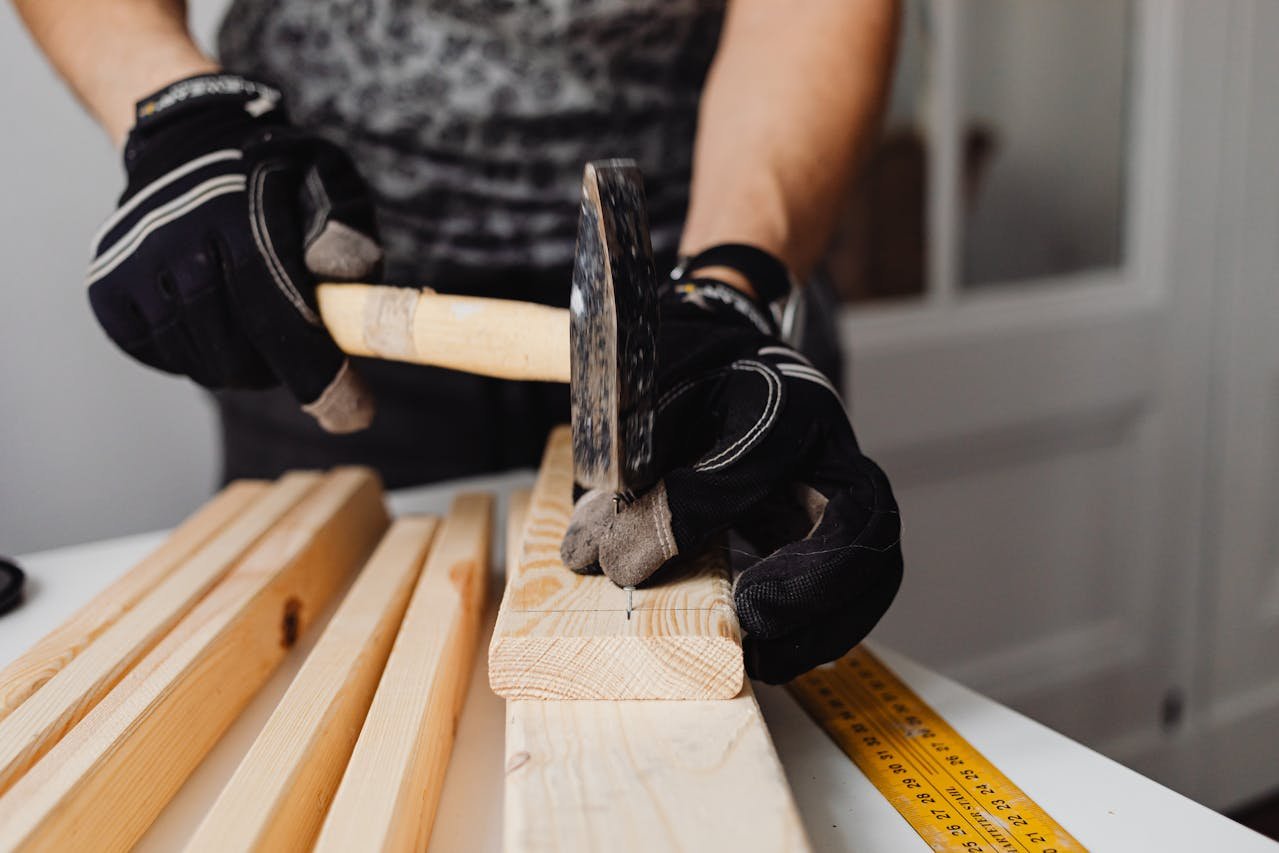
Assembling the base and sides
Once all your pieces are cut, you can start assembling the base of the bookshelf. Begin by laying out the pieces for the base on a flat surface. Use screws and brackets to secure the sides to the base, ensuring that everything is square and level. You can use clamps to hold the pieces together while you work, which helps keep everything aligned.
After the base and sides are assembled, attach the top piece. It’s important to check that the frame is level and square at each step to prevent any later warping or misalignment.
Assembling tips
- Use a level to check that the base and sides are perfectly vertical and horizontal.
- Apply wood glue to joints for extra strength before screwing them together.
- Allow the glue to dry completely before moving on to the next step.
Installing the shelves
With the frame assembled, the next step is to install the shelves. This process involves attaching supports and then securing the shelves in place.
Adding shelf supports
Start by deciding where you want the shelves positioned within the frame. Measure and mark each shelf’s locations, ensuring they are evenly spaced and level. Install the shelf supports at these marked locations. If you’re using fixed shelves, these supports can be brackets or cleats attached to the sides of the bookshelf. For adjustable shelves, use pre-drilled holes and shelf pins.
Shelf support tips
- Use a level to ensure that the supports are perfectly horizontal.
- Consider using adjustable shelf supports if you want the flexibility to change the height of your shelves later on.
- Make sure the supports are securely fastened to prevent the shelves from sagging.
Attaching the shelves
Once the supports are in place, you can install the shelves by resting them on the supports and securing them with screws. If you’ve designed the bookshelf with fixed shelves, screw the shelves into the supports from the sides or from underneath. Ensure each shelf is level and doesn’t wobble before moving on to the next one.
Attaching tips
- Use screws that are long enough to securely hold the shelves in place without protruding through the other side.
- Double-check that each shelf is level before securing it permanently.
- Consider adding a back panel to the bookshelf for additional stability and a more finished look.
Finishing touches
Now that your bookshelf’s structure is complete, it’s time to add the finishing touches to enhance its appearance and protect the wood.
Sanding and priming
Before applying paint or stain, sand the entire surface of the bookshelf to remove any rough edges or imperfections. Start with medium-grit sandpaper to smooth the surface, then finish with fine-grit sandpaper for a smooth finish. After sanding, wipe the surface with a damp cloth to remove any dust.
If you plan to paint the bookshelf, apply a coat of primer to help the paint adhere better and create a more even finish. The primer also helps to seal the wood, preventing the paint from soaking in unevenly.
Sanding and priming tips:
- Sand in the direction of the wood grain to avoid scratches.
- Use a tack cloth or damp rag to remove all dust before applying primer.
- Allow the primer to dry completely before applying the final paint or stain.
Painting or staining
After the primer has dried, apply your chosen paint or stain. If you’re painting, use a brush or roller to apply even coats, starting with a light coat and building up as needed. For a stained finish, apply the stain with a cloth or brush, wiping off any excess to achieve an even colour.
The choice between paint and stain depends on the look you’re going for. Paint offers a wide range of colours and finishes, while stain highlights the natural beauty of the wood grain.
Finishing tips
- Apply paint or stain in thin coats to avoid drips and uneven coverage.
- Sand lightly between coats for a smooth finish.
- Consider applying a clear topcoat or varnish for added protection and durability.
Adding trim and molding
Adding trim and molding is an optional but highly recommended step to give your bookshelf a polished and professional appearance. Trim can cover raw edges, hide seams, and add a decorative touch that elevates the overall design of your bookshelf. Depending on your design, you may add crown molding to the top of the bookshelf, baseboards at the bottom, or simple edge trim around the shelves.
To install the trim, measure the length of each section where it will be placed and cut the trim pieces to size using a miter saw for angled cuts. Apply wood glue to the back of the trim and then position it on the bookshelf, pressing it firmly into place. You can use finishing nails to secure the trim further, ensuring it stays in place as the glue dries.
Trim and molding tips:
- Measure each section carefully before cutting to ensure a perfect fit.
- Use a miter saw to make precise 45-degree cuts for corners.
- Fill any gaps or nail holes with wood filler, then sand and paint the trim for a seamless look.
Installing the bookshelf
With the construction and finishing complete, it’s time to install your custom bookshelf in its designated space. Proper installation is crucial for safety and aesthetics, especially if the bookshelf is tall or heavy.
Securing the bookshelf to the wall
Securing the bookshelf to the wall is essential, particularly if you have young children or live in an area prone to earthquakes. This prevents the bookshelf from tipping over and remains stable, even when loaded with books or other heavy items.
To secure the bookshelf, locate the wall studs behind the bookshelf using a stud finder. Mark the positions of the studs on the wall, and then drill pilot holes through the back of the bookshelf into the studs. Use long screws or brackets to anchor the bookshelf securely to the wall. Be sure to check that the bookshelf is level before fully tightening the screws.
Installation tips
- Use a level to ensure the bookshelf is perfectly vertical before securing it to the wall.
- If the bookshelf doesn’t have a back panel, consider adding one, as this can provide additional stability and a finished look.
- If your bookshelf is freestanding and not built into a recess, you may also want to secure the sides of the adjacent walls for extra stability.
FAQs
How to make a bookshelf at home?
To make a bookshelf at home, start by measuring the space where it will go, then design a simple frame with shelves. Gather materials like wood, screws, and brackets. Cut the wood to size, assemble the frame and shelves, and then finish by sanding, painting, or staining the wood. Finally, secure the bookshelf to the wall for stability.
How to design a bookshelf?
Designing a bookshelf involves deciding the size, style, and number of shelves based on your space and storage needs. Consider the height and depth of the shelves to accommodate different book sizes. Sketch a blueprint or use design software to plan the layout, including any decorative elements like trim or moulding.
Is it cheaper to build a bookshelf?
Building a bookshelf can be cheaper than buying one, especially if you already have some tools and materials. The cost will depend on the type of wood and finish you choose, but DIY allows you to customize the bookshelf to your specifications and save money compared to buying a pre-made unit.
What is the difference between a bookcase and a bookshelf?
A bookcase is typically a larger, freestanding unit with multiple shelves, often enclosed with doors or backing, designed to hold many books. A bookshelf, on the other hand, refers to a simpler, open structure with shelves that may be wall-mounted or free-standing, used for storing and displaying books.
What is the cheapest material for bookshelves?
The cheapest material for bookshelves is usually MDF (Medium-Density Fiberboard) or plywood. MDF is an affordable, smooth surface that’s easy to paint, while plywood offers more strength and durability at a slightly higher cost. Both materials are budget-friendly and widely used in DIY furniture projects.