
Painting like a pro: your ultimate guide for a flawless finish
Few things have as much impact when transforming a room as a fresh coat of paint. Whether revamping your living room or giving your bedroom a makeover, the right painting technique can make all the difference. But how to paint like a pro and ensure your DIY paint job looks as good as a professional’s? This ultimate guide will walk you through every process step, from planning and preparation to the final touches, ensuring a flawless finish you can be proud of.
Planning and Preparation
Choosing the Right Paint
Before you even pick up a brush, choosing the right paint is crucial. The colour you select can dramatically change the mood of a room, so take your time with this decision. But it’s not just about colour; the finish is equally important. Glossy finishes are durable and easy to clean, ideal for high-traffic areas like kitchens and bathrooms. However, they tend to highlight imperfections. On the other hand, matte finishes offer a more sophisticated look and are great for hiding flaws, but they might not be as durable.
When choosing paint, consider the type of room you’re painting, the level of foot traffic it receives, and the kind of atmosphere you want to create. For instance, a warm, cosy finish might be perfect for a bedroom, while a bright, durable finish would be better suited for a playroom or kitchen.
Gathering Supplies
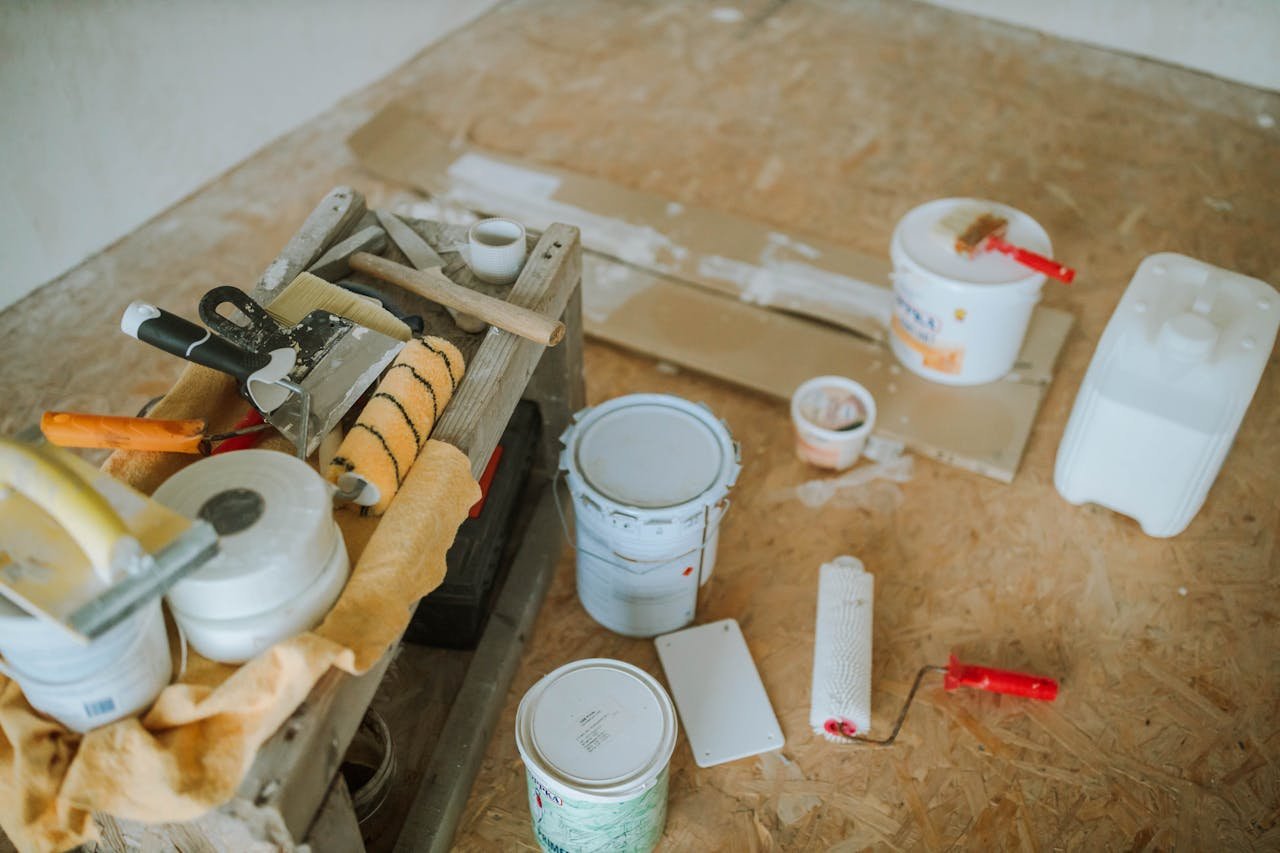
The right tools can make a world of difference in your painting project. Here’s a checklist of essential items you’ll need:
Paint: Always buy slightly more than you think you’ll need. This way, you won’t run out mid-project, and you’ll have extra for touch-ups.
Primer: Crucial for covering stains, sealing the surface, and ensuring the paint adheres properly.
Painter’s Tape: For clean edges around trim, ceilings, and fixtures.
Drop Cloths: Protect your floors and furniture from drips and spills.
Sandpaper and Patching Compound: To repair any imperfections in the walls before painting.
Paintbrushes and Rollers: Invest in high-quality tools. Cheap brushes shed bristles, and low-quality rollers can leave behind a rough texture.
Paint Trays and Liners: Makes applying paint with a roller easier and cleaner.
Ladder: Necessary for reaching higher areas safely.
Room Preparation
Preparation is the key to a flawless finish. Start by clearing the room of as much furniture as possible. Anything that remains should be covered with drop cloths to protect it from paint splatters. Remove any wall hangings, outlet covers, and light switch plates. Removing curtains or blinds to avoid getting paint on them is also a good idea.
Next, clean the walls. Dust, dirt, and grease can prevent paint from adhering correctly, leading to an uneven finish. Use a mild detergent and water solution to wipe down the walls. If you notice any holes, cracks, or dents, fill them with a patching compound and sand them smooth once they’ve dried.
Finally, apply painter’s tape around areas you don’t want to paint, such as trim, windows, and doors. Take time with this step; the better you tape, the cleaner your edges will be.
Wall Preparation
With the room ready, it’s time to prepare the walls themselves. Start by lightly sanding the entire surface. This might seem unnecessary, but it’s essential for achieving a smooth finish. Sanding removes any small bumps or debris and gives the paint a slightly rough surface to adhere to.
If your walls have any significant stains or are a particularly bold color, consider using a primer before painting. Primer not only helps to cover stains but also ensures that the paint adheres better and lasts longer. It’s especially important if you’re making a drastic color change, like going from dark red to light grey.
Mastering Painting Techniques
Cutting In
“Cutting in” refers to painting the edges of your walls with a brush before you use a roller for the larger areas. This technique ensures clean lines around trim, ceilings, and corners. To cut in, dip your brush into the paint (but don’t overload it), then carefully paint a straight line along the edge. Using a smaller, angled brush for this task can be helpful.
Take your time with cutting in, as this is where many DIY painters make mistakes. If you rush, you risk getting paint on areas you didn’t intend to, which can be difficult to correct later.
Rolling Paint
Once you’ve cut in around the edges, it’s time to move on to the main event: rolling paint onto the walls. Start by pouring your paint into a tray and loading up your roller. Be sure to roll it back and forth in the tray a few times to distribute the paint evenly.
When rolling paint onto the wall, use a “W” pattern. Start in one corner, roll the paint in a “W” shape, then fill it in without lifting the roller from the wall. This technique helps to distribute the paint evenly and reduces the risk of streaks or lap marks.
Feathering Out Paint
To avoid visible lines between paint sections, it’s important to “feather out” the edges. This involves lightly rolling over the edges of the painted area with a nearly dry roller. Feathering blends the paint into the next section, creating a seamless finish.
Always work in small sections and keep a “wet edge”—this means that you should always roll new paint over an area that has yet to dry. This technique helps avoid the dreaded lap marks that make your paint job look amateurish.
Painting Order
The order in which you paint can significantly affect the final result. Professionals generally recommend starting with the ceiling, followed by the walls, and finishing with the trim. Painting the ceiling first allows you to cover any drips that might land on the walls as you work.
When painting the walls, work from top to bottom. This way, you can catch any drips as you go, ensuring a smooth, even finish. Save the trim for last; this way, you can cover any splatters that might have occurred while painting the walls.
Expert Tips for a Pro-Level Finish
Sanding Between Coats
For the smoothest finish possible, consider lightly sanding the walls between coats of paint. Use fine-grit sandpaper and go over the entire surface once the first coat has dried. This removes any small imperfections or bubbles that might have formed, giving you a perfect surface for the second coat.
Be sure to wipe down the walls with a damp cloth after sanding to remove any dust. This will help the next coat of paint adhere better.
Using Painter’s Tape
Painter’s tape is your best friend for achieving crisp, clean edges. But using it correctly is crucial. After applying the tape, press it down firmly to ensure it sticks well, especially along the edges. This prevents the paint from seeping underneath.
To avoid pulling off paint when you remove the tape, do so at a 45-degree angle while the paint is still slightly wet. If the paint has dried completely, use a utility knife to score along the edge of the tape before pulling it off.
Maintaining a Wet Edge
As mentioned, keeping a “wet edge” is key to preventing lap marks and streaks. This means you should always paint next to an area that hasn’t dried yet. To do this, work in small sections and don’t stop until the entire wall is done. If you must take a break, try to finish a whole wall or section before stepping away.
Boxing Paint
If you’re using more than one can of paint, it’s important to “box” your paint to ensure color consistency. Even if two cans are labelled as the same colour, there can be slight variations between batches. To avoid this, pour all your paint into a larger container and mix it thoroughly before you start painting.
This step is especially important if you paint a large area, like a living room or an entire house. The last thing you want is to see a subtle color difference between two walls or sections.
Clean-Up and Final Touches
Proper Clean-Up
Once you’ve finished painting, it’s tempting to clean up quickly and be done with it. But taking your time with the clean-up process ensures your tools last longer and makes touch-ups easier down the road.
Start by cleaning your brushes and rollers. Using water-based paint, you can clean them with soap and warm water. You’ll need to use mineral spirits or paint thinner for oil-based paints. Make sure to wash your tools thoroughly, removing all traces of paint.
Once your tools are clean, properly dispose of any leftover paint. Many communities have specific guidelines for disposing of paint, so follow local regulations. If you have leftover paint, store it in an airtight container in a cool, dry place. Label the container with the date and color to easily find it for future touch-ups.
Storing Paint
If you have leftover paint, storing it properly can save you money and time later. If there’s only a little left, transfer the paint to a smaller, airtight container. This reduces the amount of air in the container, which can cause the paint to dry out.
Store your paint in a cool, dry place away from extreme temperatures. If stored correctly, paint can last several years, allowing you to do quick touch-ups without buying a new can.
Final Inspection
Before you call your painting project complete, take a few moments to do a final inspection. Look for missed spots, drips, or areas where the coverage isn’t even. Touch up these areas with a small brush or roller to ensure a consistent finish throughout the room.
Walking around the room in different lighting conditions is also a good idea to ensure everything looks smooth and even. Sometimes, imperfections or thin spots can be more visible in natural light or under different types of artificial light, so checking from different angles is a smart move.
If you find any areas that need attention, don’t hesitate to add a touch-up coat. It’s better to spend a few extra minutes now than to notice an issue later when it might be more challenging to fix.
FAQs
How to paint a house like a professional?
To paint a house like a professional, thoroughly prepare, including cleaning and repairing surfaces. Choose high-quality paint and tools, and use painter’s tape for clean edges. Apply primer where needed, cut in with a brush, and then roll paint using a “W” pattern to ensure even coverage. Work in small sections to maintain a wet edge and avoid lap marks.
How can I make my bad paint job look better?
To improve a bad paint job, start by sanding any rough areas and touching up uneven spots with a fresh coat of paint. If streaks or lap marks are present, lightly sand and reapply paint, blending carefully. Consider applying an additional coat to cover imperfections and achieve a smoother, more uniform finish. Always use high-quality tools and maintain a wet edge while painting.
How do you paint a room like an expert?
Painting a room like an expert involves meticulous preparation: cleaning walls, repairing damage, and applying primer. Begin by cutting in the edges with a brush, then use a roller to apply paint in a “W” pattern for even coverage. Work methodically from top to bottom, maintaining a wet edge to avoid streaks. Use high-quality brushes and rollers to achieve a smooth, professional finish.
What is the best house painting method?
The best house painting method involves thorough preparation, including surface cleaning and priming. Use quality paint and tools and apply paint in thin, even coats. Start by cutting in around edges, then use a roller to cover large areas. Work in manageable sections to keep a wet edge, and finish with light sanding between coats for a smooth, professional finish.
How do you make a bad painting look good?
To make a bad painting look good, first assess and correct any obvious flaws by sanding down rough spots or applying additional paint where needed. Then, consider repainting the area with a high-quality, even coat. Feather the edges to blend in with the surrounding paint. Apply a final coat to unify the finish and enhance the overall appearance if necessary.