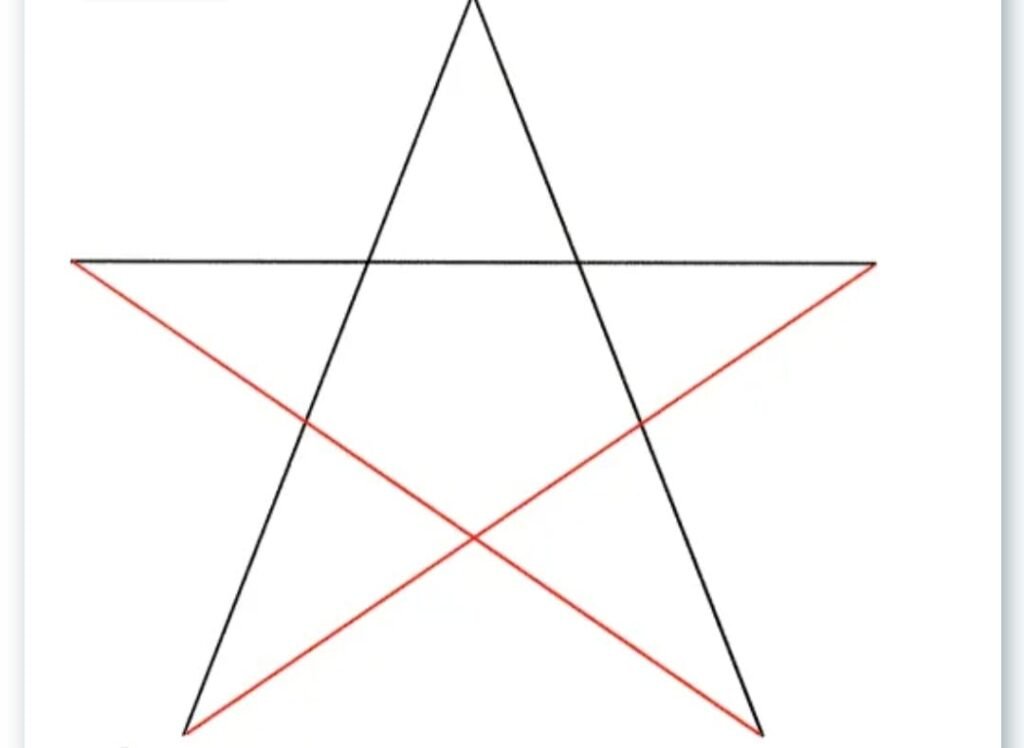
How to draw a Simple Star?
Drawing a simple star is an uncomplicated and fun way. Kids love to draw a star as their first drawing, which is easy and fun-loving for kids. Star is one of those fundamental shapes that appear super handy when kids learn how to draw, plus it adds charm and a factor of fascination to the drawings. Unicorn drawing is the perfect example, as it will look even more enchanted when surrounded by clumps of tiny shining stars. Let’s learn how to draw a simple five cornered star.
What you need:
- Pencil or marker (or both)
- Paper
- An eraser
Method 1: Draw a beautiful five-pointed star utilizing the letter “A.”
I will demonstrate how to make a five-pointed star in three simple steps with your hand. t is a simple and relaxing strategy to draw a star.
Step 1: Draw the letter ” A” without a middle line.
Start your star drawing and draw the letter ” A” without a middle line. Draw two straight lines at a slope from the same point. Have a look at the picture. Keep in mind the length of the lines. From the mathematician’s point of view, the angle must be 36 degrees.

Step 2: Make a straight horizontal line.
Next, draw the horizontal line across the letter “A” Place the horizontal line about two-thirds higher than where you put it when writing the letter “A.”
The line must be the same length as the other two straight lines.

Step 3: Draw the final sides of the star.
In the final step, attach both ends of the horizontal line with the opposite bottom leg of our letter “A” this is how our five-pointed star drawing is done.

Congratulations, you have just learned how to draw a star. Now you can trace it with a marker, erase the lines, or get creative and give your star a smiley face.
Method no 2: Draw a star with one line.
I will show you how to draw a star in one line in this second method. The line modifies its paths a few times but doesn’t raise the pencil as you draw. It is a great way to draw several stars where each ends slightly differently and quickly. They are a great way of stuffing up the night drawing with stars.
Step 1: Start at the top and go down to the left.
Draw the first straight line, starting at the top and going down to the left at an angle of about 36 degrees. It is the same as we draw in the first method. Don’t need to worry. The whole point of this method is to draw a five-pointed star.

Step 2: Moving from the bottom to the right hand.
The following straight line goes from the bottom up and to the right hand. Remember that the length of the two lines must be the same, and the angle must be the “V” angle, as shown below.

Step 3: Moving from the straight right hand to the left hand.
Draw the following horizontal line that goes straight from right to left and again is the same angle, and the length of the line is also the same as the previous line, as shown in the picture.

Step 4: Draw a line from left-backs down right again.
Draw a line from the left back down to the right again, with the same angle and length.

Step 5: Connect the last two points that are left.
In the end, draw a final straight line that joins the last two points. In this way, we get our absolute star by drawing a line from the bottom leg back up to the top point of the star, and we are done.

Your drawing is ready to color the way you like to color.

