
Expert Ways to Crack, Clean, and Removes the Meat from Coconut
The coconut, a tropical treasure trove, offers a refreshing drink (coconut water) and a versatile culinary ingredient (coconut meat). But its tough exterior can be a daunting barrier for the uninitiated. Fear not, fellow food adventurer! This comprehensive guide will equip you with the knowledge and techniques to crack, clean, and removes the meat from a coconut with confidence, leaving you with its delicious rewards.
Tools needed to Crack, Clean, and Removes the Meat from Coconut
- Hammer: A sturdy hammer is your primary weapon for cracking the coconut.
- Knife: Opt for a sturdy knife like a cleaver for prying out the meat. A smaller paring knife will help remove the brown skin later.
- Screwdriver or Nail (optional): This comes in handy for poking a hole to drain the coconut water.
- Towel (optional): While not essential, wrapping the coconut in a towel before cracking can help contain any mess from potential shattering.
- Bowl: This will collect the precious coconut water, a delightful reward for your efforts.
Selecting Your Coconut
Choose a mature coconut that feels heavy for its size. A good shake should reveal minimal sloshing of the coconut water inside, indicating a fresh and full coconut.
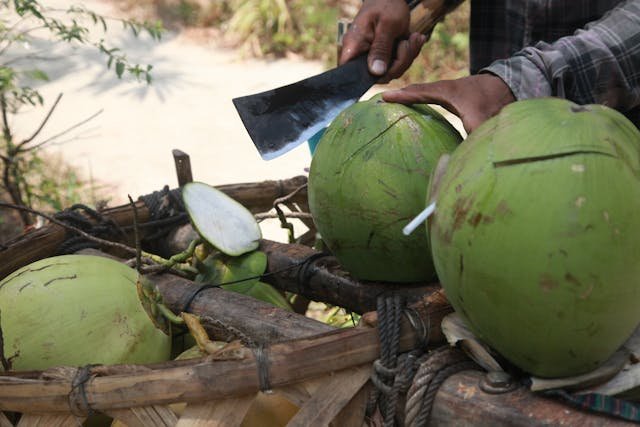
Cracking the Coconut
1. Drain the Delightful Dew
Locate the three “eyes” on the coconut, dark spots on one end. One of these eyes will be softer and slightly indented. This is your entry point. Using a screwdriver or nail, carefully poke a hole in the weakest-looking eye. Hold the coconut upside down over your bowl and let the coconut water drain completely. Savor this refreshing drink – it’s a sign of a successful conquest to come!
2. Find the Fracture Line
Look closely at the coconut’s surface. You’ll see a faint line running around its equator. This is your target zone for a clean crack.
3. Hammer Time (with Caution)
You can choose one of two methods for cracking:
Method A: Direct Force (Optional Towel): Place the coconut on a flat surface, holding it firmly. If using a towel, wrap it around the coconut for safety. With the blunt side of the hammer, gently tap along the equator line, rotating the coconut slightly after each tap. Listen for cracks forming. Be patient and avoid using excessive force to prevent the coconut from shattering.
Method B: Oven Heat (for a Less Messy Crack): Preheat your oven to 400°F (200°C). Place the whole coconut directly on the oven rack and bake for 15 minutes. The heat will help loosen the shell, making it easier to crack. Carefully remove the hot coconut from the oven using oven mitts and let it cool slightly. Wrap it in a towel (to protect your hands) and crack it open using the hammer method described in Method A. The shell should crack more easily due to the heat.
4. The Grand Split
Once a crack appears, continue tapping along the line using the chosen method until the coconut splits in half. Be patient and avoid forceful blows. Celebrate your success – you’ve breached the coconut’s defenses!
Cleaning and Removing the Meat
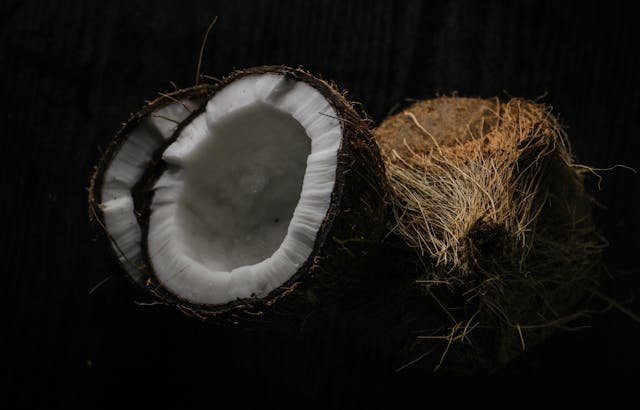
Extracting the Easy Wins
You’ll see the white flesh clinging to the brown shell with the coconut open. Use a spoon to scoop out any large pieces of coconut meat that come away easily.
Knife Work for Stubborn Bits
For the more stubborn flesh, insert your knife between the meat and the shell. Gently pry the meat loose, using a sawing motion if needed. Be mindful of the shell’s curvature and avoid digging too deeply to prevent wasting precious coconut meat.
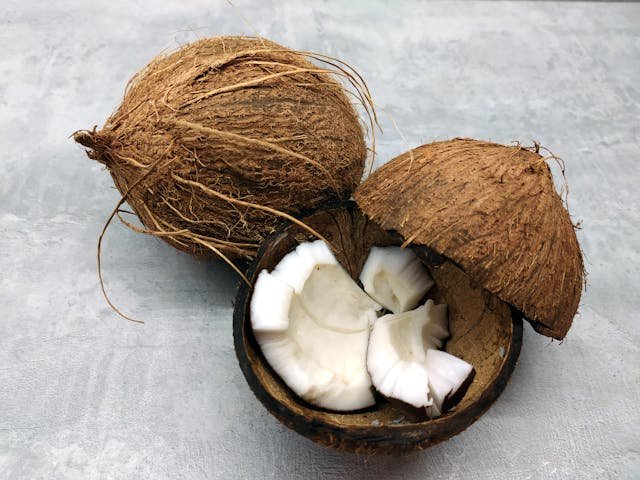
Brown Beauty Removal
The brown skin on the coconut flesh is not typically eaten. Use a vegetable peeler or a paring knife to carefully remove this outer layer, revealing the pristine white coconut meat beneath.
Pro Tip: Freeze the coconut halves for 30 minutes before prying out the flesh. The frozen coconut meat will be firmer and easier to separate from the shell.
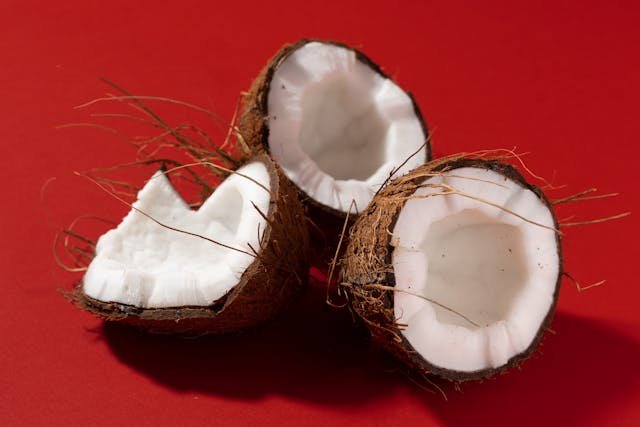
Congratulations! You’ve successfully cracked, cleaned, and removed the coconut meat. Now you can savor the fresh, white flesh for a delightful snack, use it in your culinary creations, or toast it for a deeper, richer flavor. The possibilities are endless!
Common Mistakes to Avoid
FAQs
Q1: How do I choose a ripe coconut?
A1: When selecting a ripe coconut, look for one that feels heavy for its size and has a firm, brown outer shell. Shake it to ensure there is liquid inside, indicating freshness. Avoid coconuts with mold, cracks, or any signs of damage.
Q2: Can I use a regular knife for cracking a coconut?
A2: While it’s possible to use a regular knife, it’s safer and more effective to use a heavy-duty cleaver or a specialized coconut knife. The tough outer husk may be challenging to crack with a regular knife, and it could pose safety risks.
Q3: What should I do if the coconut meat tastes off?
A3: If the coconut meat tastes off, it may be spoiled. Check for signs of mold, discoloration, or a rancid smell. If any of these are present, discard the coconut. To prevent spoilage, store coconut meat in an airtight container in the refrigerator for short-term use or freeze it for longer storage.
Q4: Are there any safety precautions when cracking coconuts?
A4: Yes, safety is crucial when cracking coconuts. Use protective gear like gloves and safety glasses to shield yourself from flying shell fragments. Secure the coconut on a stable surface, and be cautious when striking it with a knife or cleaver. Follow proper techniques and consider watching tutorials before attempting.
Q5: Can I freeze fresh coconut meat?
A5: Yes, you can freeze fresh coconut meat for extended storage. Cut the meat into desired pieces, place them in an airtight container or a zip-top bag, and store in the freezer. Thaw frozen coconut in the refrigerator before using, and consume it within a few months for the best quality.