
We can all contribute by using face masks to stop the novel coronavirus. The Centers for Disease Control and Prevention (CDC), the World Health Organization (WHO) Trusted Source, and many state and local health departments advise wearing a face mask in public or communal settings, particularly in circumstances when you might be near other people. Additionally, if you walk outside in public, several localities require you to wear a face mask.
You, the wearer, are not meant to be protected by a face mask. The CDC states that wearing a facial covering is actually for the benefit of those close to you. The reason for this is that you could have the illness but lack any symptoms. We’ve got you covered how to sew or just need a quick way to create a face mask using supplies you already have. Read the following article below to know complete process about how to make a face mask out of fabric.

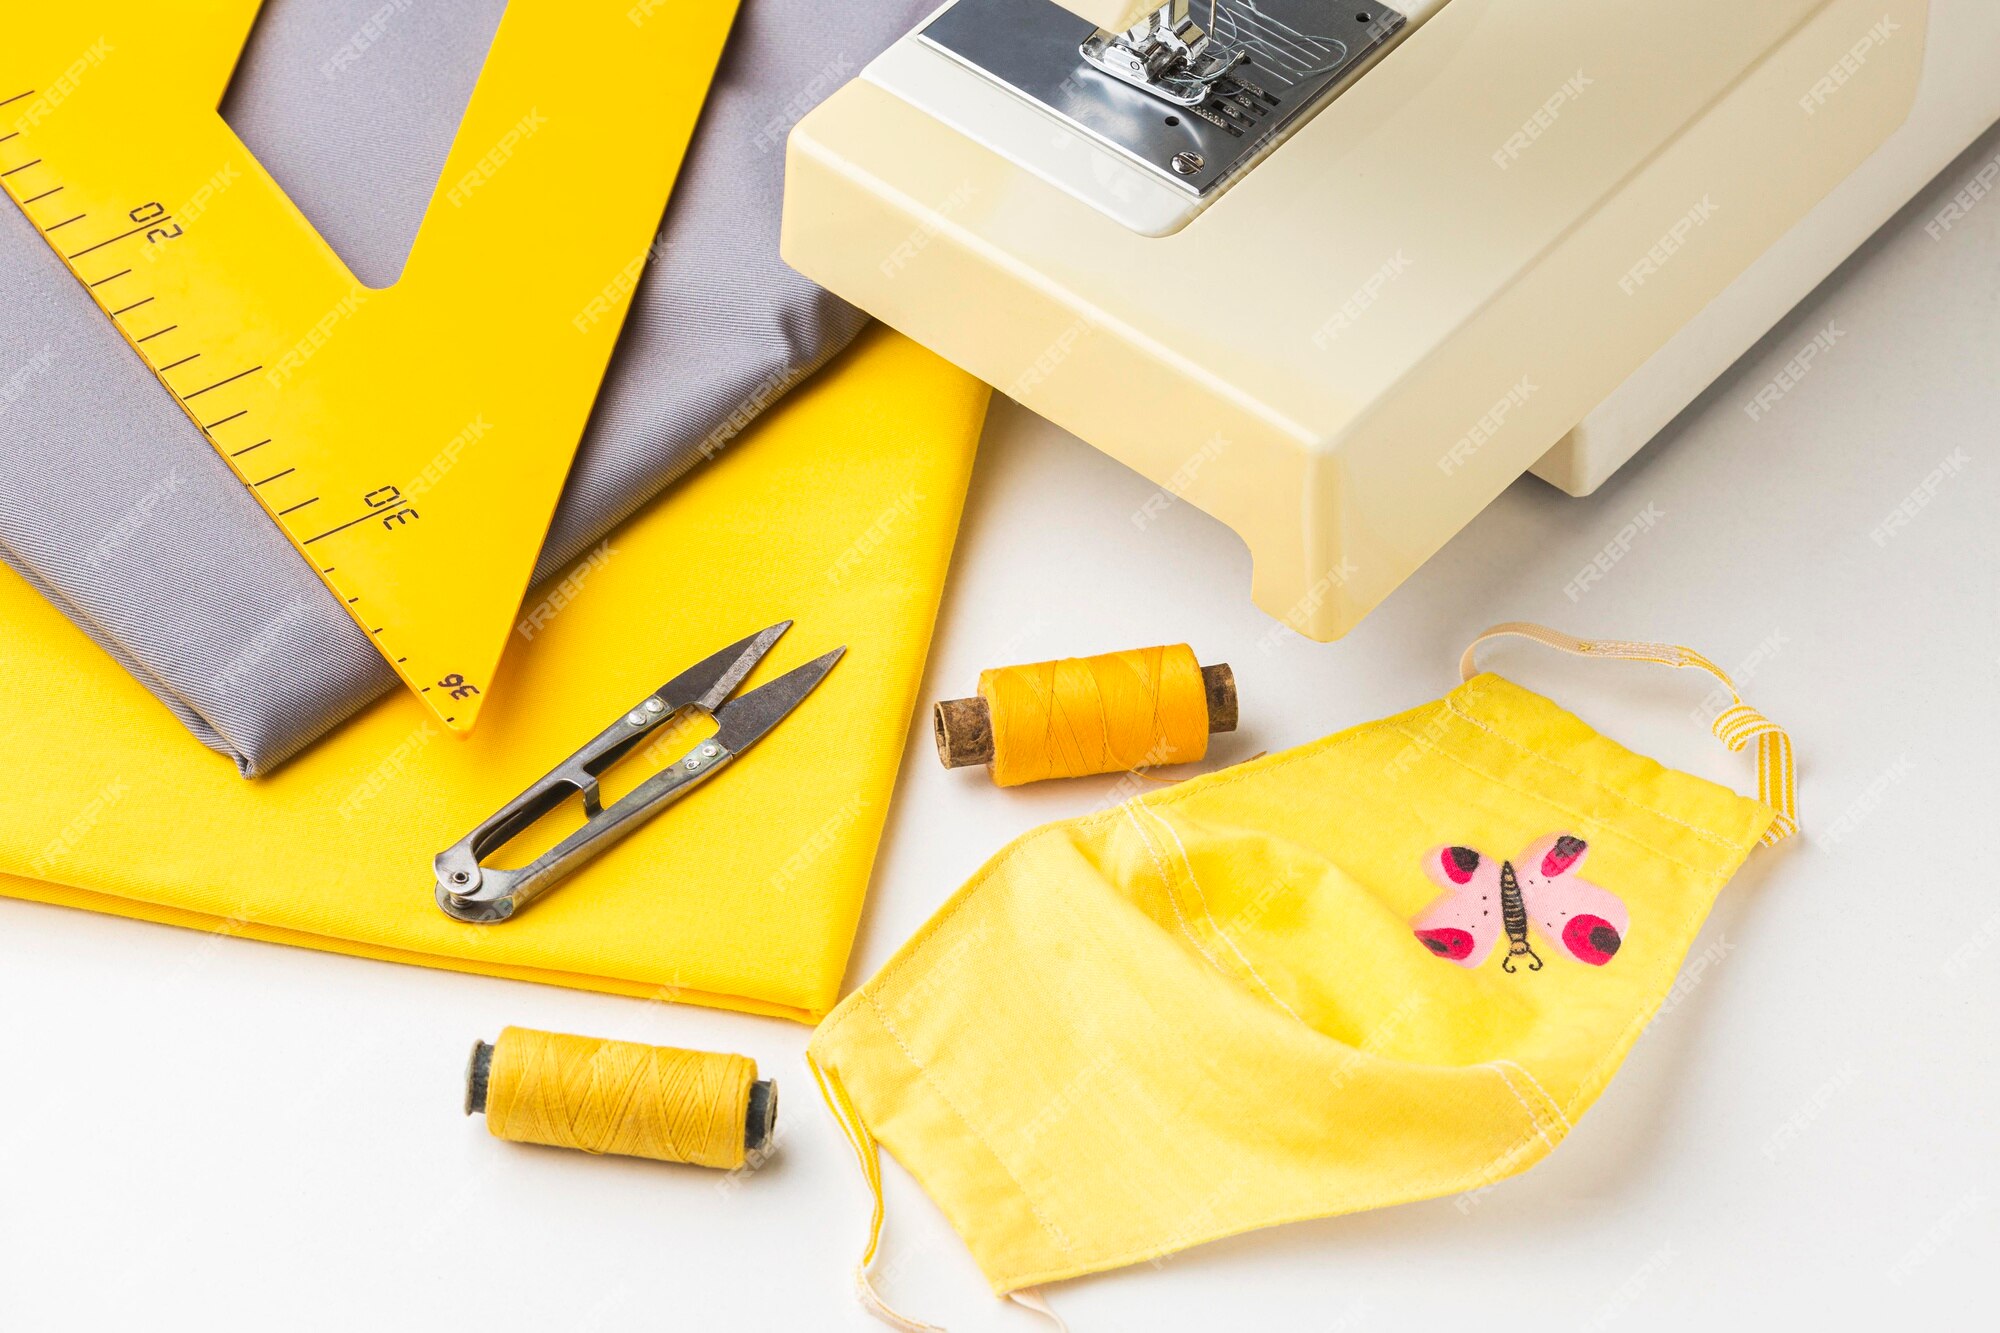
WHAT MATERIALS ARE REQUIRED TO MAKE A DIY FACE MASK?
A simple sewing project, many plans for cloth face masks don’t even call for a sewing machine. You’ll have everything you need to construct your own face mask as long as you have the following:
- Scissors
- Rubber bands
- Hair ties
- Old Clean t-shirt/ Other piece of fabric
- A ruler or tape measure
- Front: 100% unused cotton fabric (no metallic fabric)
- Back: 100% unused cotton or cotton flannel
STEPS OF MAKING FACE MASK
- Select a cotton fabric piece, wash it on the warmest setting, and then dry it on a high heat setting.
- The fabric is folded in half. To make two layers that are the same size, measure and cut a rectangle that is 9.5″ by 6.5″. Your mask basis is this.
- Cut 4 thin, 18″ long by 3″ wide strips of material. To tuck the raw edges inside, fold each piece of cloth three times lengthwise. Make a straight stitch down the centre. This will stop the edges of the fabric ties from fraying.
- Take one of the rectangular layers of fabric. Pin the 4 fabric ties down, one piece in each corner, with the “right side” (or the outer-facing side, where the pattern may be) facing you. Before moving on to the next stage, make sure the ties are collected in the middle of the cloth layer.
- Fabric ties can also be replaced by sewing elastic, but keep in mind that elastic cannot be bleached, making it less easy to clean, and that those with latex allergies cannot wear it. In order to attach elastics to the initial layer of cloth, secure the ends at the corners to create small hoops. Make sure the elastic is positioned such that it is inside the fabric’s edge.
- Line up the second piece of fabric over the first. The fabric ties or elastics should be sandwiched between the “right sides” (or patterned sides) of the cloth. Pins hold the fabric sandwich together.
- Look for a halfway point. Sew a straight line across the mask starting in the center, about 14″ above the bottom edge of the material, and moving toward the bottom left corner. As you stitch past any pins, take them out.
- As you sew over the ends of the elastic or fabric ties, make sure that they are enclosed by your two layers of fabric at the corners. Make sure your needle enters all three pieces—the top layer, the cloth tie’s end, and the bottom.
- To keep your ties in place, add a few stitches forward and backward (in both directions).
- To attach all of the elastic ends or fabric ties, stitch all the way around the edge of the fabric layers, going back and forth at each corner. As you make your way back toward the beginning, pause to leave a 1 12″ gap.
- On the mask, create three longitudinal staggered pleats in the manner of folding a paper fan. This makes it easier for the mask to fit the wearer’s face. Pins are used to affix each pleat.
- Stitch around the outside of the mask, 14″ away from the edge of the seam, with your pleats pinned in place. Known as a top stitch, this. Due to the fabric’s potential to be quite thick, use caution when sewing over the pleats.
- About 14″ into the first round of stitching, repeat the top stitch. You now possess a finished mask.
Up next? It’s crucial to learn how to properly wear a mask. Their effectiveness is hampered by individuals pulling them apart, and the edges are easily penetrated by air.
ANOTHER METHOD OF MAKING FACE MASK
You can make two separate masks for Adult or for child
- Join the cotton fabric’s right sides together (Be sure any fabric design is placed horizontally.)
- Cut 7.5 x 5 or 9 x 6 (adult) (Child)
- Beginning at the bottom edge’s centre, sew to the first corner and stop. With the edge of the elastic towards the corner, sew it. This can be held with a few stitches forward and back.
- Continue sewing until you reach the next corner, then pause, bring the opposite end of the elastic to the corner, and sew a few stitches in front and back.
- Next, stitch to the next corner from the top of the mask. Once more, use an elastic with the edge exposed.
- Sew in the opposite end of the same elastic at the next corner.
- Leave a 1.5 to 2 inch opening along the bottom as you sew. Cut the thread and stop. Internal outward.
- Attach 3 tucks to the mask, one on each side. Make sure the tucks are facing the same way.
- Double-stitch the mask’s edge.

HOW TO APPLY AND REMOVE A FACE MASK
A mask’s handling can be just as crucial as wearing one in public.
When Wearing:
- Wash your hands with soap and water for at least 20 seconds before putting on a mask.
- Rub your hands together vigorously with an alcohol-based hand sanitizer if soap and water are not available.
- Make sure it fits tightly by holding the rubber bands or ties as you fasten it to your face and without touching the fabric.
When Removing:
- Wash your hands with soap and water or hand sanitizer before removing it.
- To remove the mask from your face, unhook or untie it using the straps (rubber bands or ties).
- Don’t contact your eyes, nose, or mouth.
- So that it will be clean the next time you need it, throw the mask in the washing machine.
- After taking off the mask, promptly wash your hands.
 The conclusion
 The conclusion
You may contribute to limiting the transmission of this illness by donning a cloth face mask when you’re out in public. With just a few simple materials, you can quickly create one for both you and other people.