
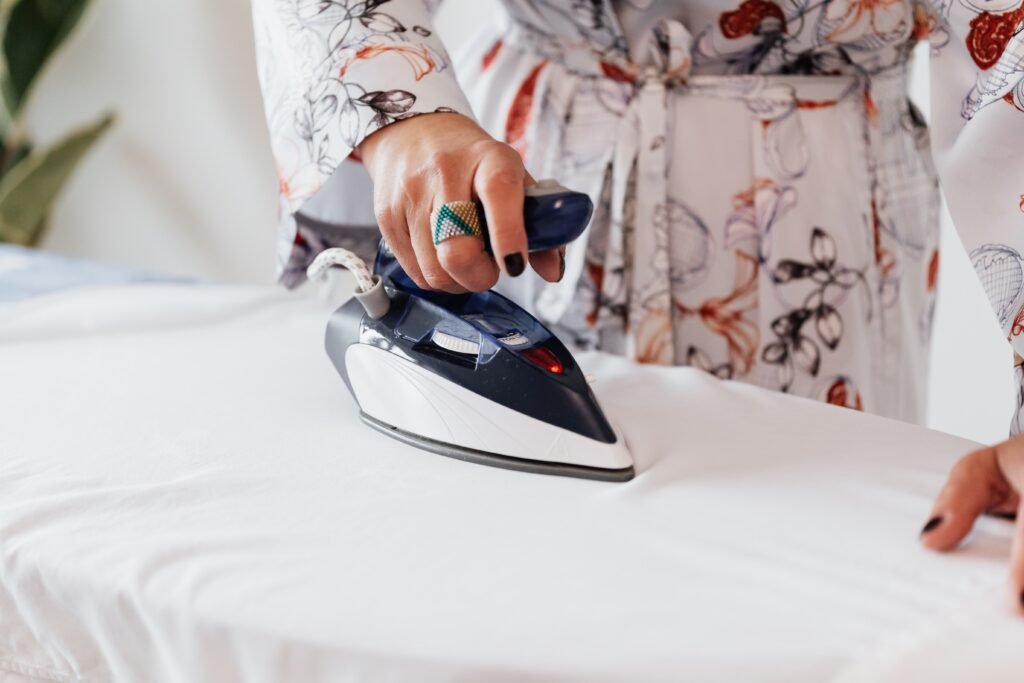
How to iron a dress shirt like a pro?
Ironing your dress shirt is one of those things that for many people is a necessary but dreaded evil. Yet with the right iron and a little knowledge how you can get it down quicker and have more time doing the thing you enjoy most. Firstly, it’s worth investing in a good steam iron, then you need a water sprayer to dampen down the shirts, and lastly invest in a good ironing board, the wider the better. As this will make it quicker. Read this topic about how to iron a dress shirt to learn all about the ironing game!!
Set up your iron!
- Before getting started, fill the iron with fresh tap water at first.
- Check the care tag to confirm the material that the shirt is made of.
- Select a high-heat setting to iron cotton dress shirts.
- Silk, woolen, and polyester dress shirts can’t handle high heat. So, in this case, don’t go any higher than the low or medium setting on your iron.
- Lastly, set the iron to its highest steam settings, as you need plenty of steam for a good finish.
Damp all your dress shirts with a water sprayer!
Before starting to iron a dress shirt, fill a spray bottle with clean tap water and spritz down all your dress shirts. As a matter of fact, damp shirts tend to smooth out better.
Start with the collar!
To iron a dress shirt, pop the shirt collar and flatten it onto the ironing stand. At first, press across the inside of the collar from tip to tip. Next, flip the shirt over and do the same thing to the outside of the collar. You can make a few more passes afterward if the collar still looks wrinkled. If you are having trouble getting any of the wrinkles out, try damping the collar again with the water sprayer.
Shift to shoulder!
Press the yoke of the shirt, which is just below the collar. Many people overlook it while ironing a dress shirt. Make sure to adjust it so that the whole yoke is sitting on the ironing board at any point. Then iron across it to work out any wrinkles.
Move to the cuffs!
Next, unbutton one of the cuffs and lay it flat on the ironing board. Press from edge to edge without ironing over the button. Flip the cuff over like you did for the collar and repeat the process. Do this for both cuffs.
Get to work on the sleeves!
The sleeves are the trickiest part while ironing a dress shirt. Since you will have to iron through two layers of fabric. Make sure both layers are smooth before pressing. The seam should run along the bottom of the sleeve, not the middle. If you want a traditionally created sleeve, press the top edge of the sleeve as you work your way down. If you want to avoid a crease, then just avoid ironing the outside edge of the sleeve.
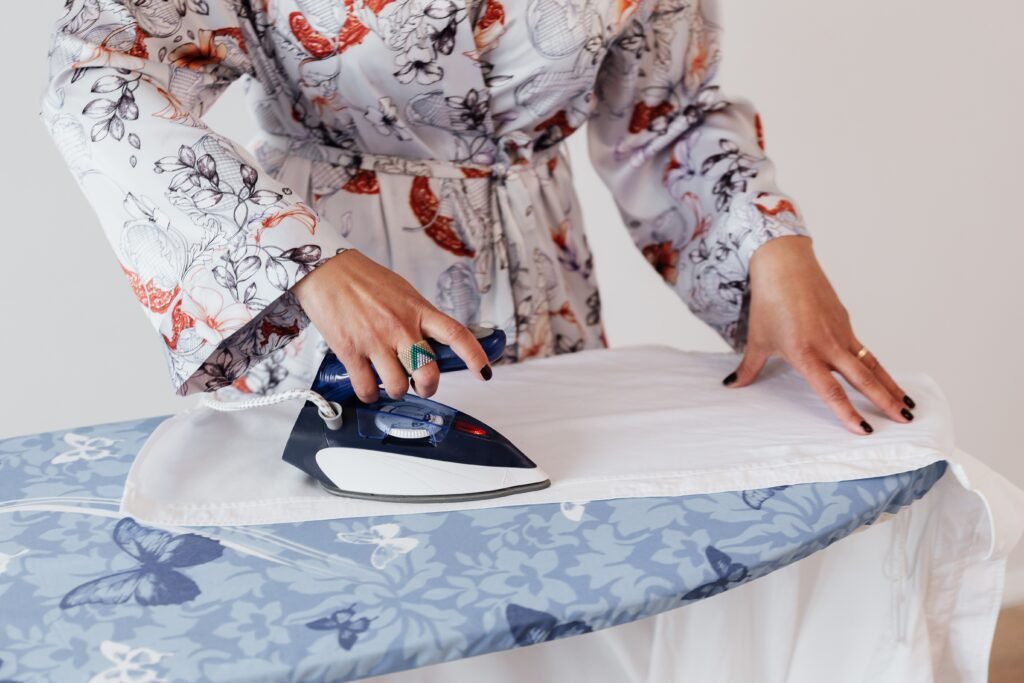
Get your shirt back on track!
For the back of the shirt open it up and lay the shoulder over the square edge of the ironing stand. Work your way slowly from the top of the shirt down to the bottom.
Flip the focus to the front!
To iron the front side of the dress shirt that has buttons, carefully press between each set of buttons again. Never iron directly over a button. Slowly work your way from top to bottom.
On the other side of the shirt, make sure to iron the front and back of the buttonhole placket. That’s it.
Hang it up!
If you are not wearing the shirt right away, hang it to preserve your handwork until you are ready to wear it.
Takeaway
- Make sure your dress shirt is thoroughly clean before ironing. To learn in detail how to clean your dress shirt. Read the other article.
- Carefully read the care instructions mentioned on the care label on your shirt for setting the optimum temperature for ironing.
- For a perfect pro-like look, place your ironing board at a comfortable height before ironing a dress shirt.
- Always start ironing from the collar and then iron cuffs, sleeves, and shirt back afterward.