
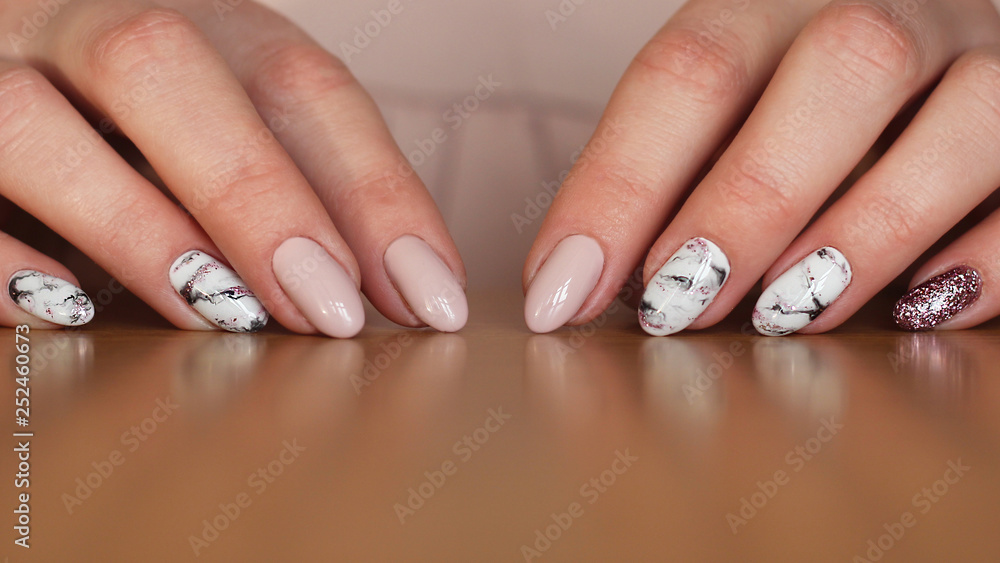
How to create a marble nail effect using water?
Water marbling may appear to be difficult for novices, but it is quite simple with some experience, and you don’t need any expensive tools or equipment to achieve this effect on your nails. The only drawback to this method is that you have to go through the exact same steps for each nail since, unlike certain nail art styles, water ambling designs appear best when applied to all nails. It’s lovely to freshen your nails with marbling. Although it’s not the quickest or cleanest method for painting your nails, it is definitely entertaining and artistic. To learn how to create a marble nail effect using water, follow this lesson!
Materials Required
You will need the following basic equipment and supplies:
- 1 glass of water or any other liquid-filled container, such as a small bowl
- One toothpick
- Two or more bottles of nail polish, each of a distinct colour
- 1 polish for white nails
- A primer coat (optionally)
- A final layer
- Cotton swabs
- Tissues
- Some adhesive tape
- Remover of nail polish
Instructions
Step 1:
Cut and shape your nails to the length and form you choose. Make sure that all of your nails have the same length because marbling will accentuate any length disparities.
Step 2:
You can choose to optionally apply a base coat to your nails to protect them and provide a solid foundation for the upcoming layers of nail paint. Allow it to totally dry.
Step 3:
Paint your nails white with a couple of coats. In this instance, white nail polish serves as a canvas to let colours stand out and become opaquer. Let it dry, then use a cotton swab dipped in an acetone-free remover to correct any mistakes.
Step 4:
To prevent any spills and make the procedure of getting rid of extra nail paint simpler, wrap some sticky tape around your nails. Wrap the tape around your nails in little, 12-inch-long segments.
Step 5:
Holding the brush horizontally to make it drop easily, add the first coat of nail polish to the water glass or container at a distance of 1/2 inch from the water’s surface. To later add other colours, aim primarily for the centre of the water’s surface.
Step 6:
Apply the second colour of nail polish using the same method as in Step 5 but this time aim towards the centre of the first colour.
Step 7:
Carefully swirl the floating nail polish pattern around with a toothpick while avoiding actually touching the nail polish circle. By doing this, the circle will be made larger and easier to transfer to the nails.
Step 8:
Using the same toothpick, quickly drag it from the outside border of the circle through the center ring, moving inwards towards the third and fourth rings. Make a 45-degree angle between the centre of the pattern and the water using your fingernail.
Step 9:
Use the toothpick to pick up the unused design over the water and remove your nail, being careful not to smudge it. After it has dried, carefully remove the sticking tape, being sure to only remove any extra nail polish from the area around your nails and not the actual nails themselves.
Step 10:
Apply a second coat of topcoat, preferably one with a sparkly finish, once the nail polish has dried. Carry out the same procedures on the remaining nails.

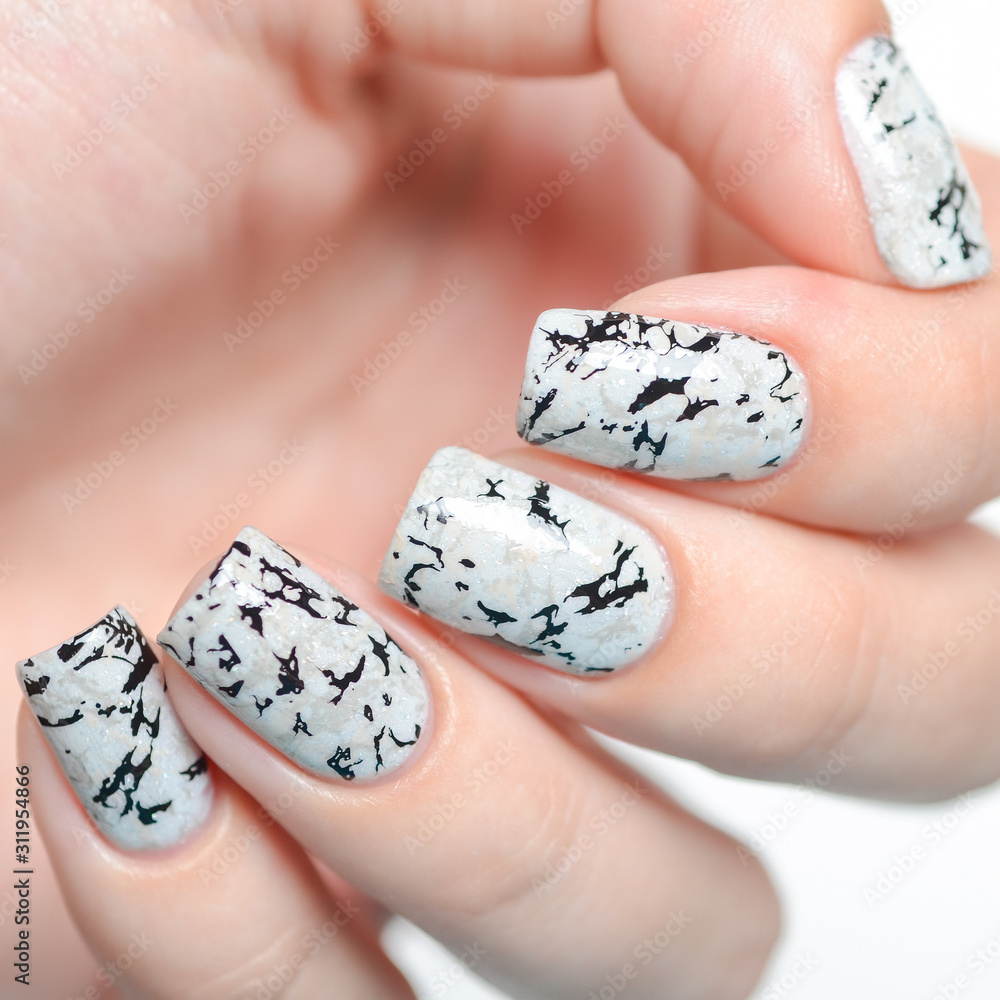
Black & Stone Marble Tutorial for Nails
Material Required:
- A base coat,
- Plastic wrap,
- Polish in your preferred color,
- A painting brush,
- A topcoat to create a stone marble design on your nails.
Here are the steps for getting stone and marble.
- Each nail should have one coat of Natural Base Coat applied.
- Wrap your index finger in plastic wrap that has been wrinkled.
- Apply nail polish of any brand on each nail with a finger that has been wrapped in plastic.
- Let the luxurious black nail polish dry before adding marble veins with a thin nail art brush.
- Over the marbling, apply OPI in a single, thin layer.
- Apply OPI Topcoat, then paint additional veins on marbled nails while it is still wet.
- Apply OPI Topcoat to complete.

Tutorial for black and white marble nails
Instruction:
- In addition to the aforementioned colour combinations, you can choose patterns that give your marble nail portion a twist. For instance:
- For a glitzier appearance, tiny black dots are placed in the centre of the rings or rhinestones.
- Over the swirls, apply semi-transparent glitter lines in the colours of gold, silver, or pink (or any other contrasting hue).
- Arrangements of swirls that look like a spider web
- Swirls that move from left to right and from top to bottom in a variety of directions
- Only one side of the nail is covered by the swirls.
- Swirls for a marble French manicure that just cover the tips of your nails.
- Neon swirls of colour is ideal for summer.
Tips:
- Though white nail polish is optional, it does improve colour payoff and make everything look more vibrant and opaquer as opposed to translucent. The same effect can be achieved using a neutral opaque nail polish.
- For a more striking multi-color effect, use more than two colours in the circle’s centre. The only thing to keep in mind is that the ring will be larger if you use more than two colours, so you’ll need to use a container that has room for the circle to spread out and grow, like a tiny bowl rather than a regular glass.
- Expect a different result on each of your nails because the circle will differ; nevertheless, the colours will remain the same, so there is no need to worry because the overall effect will still be beautiful and balanced.
- For optimum results, use a high-quality nail polish with an opaque finish. The pattern may transfer to your nails if the nail polish is semi-clear or of low quality, but the results might not be as sharp and distinct. In this situation, thick nail paint is ideal because it won’t thin out when submerged in water.
- The toothpick must always be inserted from the outside edge of the circle inward; if it is inserted the other direction, the pattern will be ruined. However, you can still play around with your toothpick by moving it in different directions and smudging it slightly to create a more varied and vibrant look.