
How to do step-by-step nail art for beginners?
Do you find yourself loving every nail art you see? It’s surprising how some designs that seem complex are actually quite simple to do. You can make these designs at home, so the answer is yes! By following these beginner nail art tutorials, you can learn how to achieve the manicure looks you’ve been admiring on Pinterest and Instagram. You only need your favourite nail polish and a few basic nail art supplies to make everyone else interested of your nails! To learn how to do step-by-step nail art for beginners, see the article after this one.
ESSENTIALS FOR BEGINNING NAIL ARTISTS TO INVEST IN
Nail Art Brushes
Three sizes of brushes are included in this kit for creating various manicure patterns and lines. You can paint precise details on your nails using the pens because they are comfortable to grip and use.
Dot Tool
A dotting tool is essential for nail art! Whether you want dotted lines, daisies, or leopard spots on your nails, it’s perfect for making dot designs. This five-piece set includes 10 distinct sizes with larger and smaller balls on opposite ends for unique nail art creations.
Decorative tape
Striping tape is a further tool to have in your toolbox for nail art. If you intend to create any design containing lines, such as diagonal lines, a checkerboard pattern, or any other geometric pattern, you must accomplish this.
Clean-up brushes for nail art
Especially if you’re a beginner, nail art is likely to become a little sloppy. During and after your manicure, use these nail art clean up brushes to remove any leftover polish from your cuticles and nails. This kit includes two different brush types: an angled brush for fine, accurate cleaning and a tapered round brush to remove huge, undesirable polish spots.
8 TIPS AND TRICKS FOR BEGINNER NAIL ARTISTS
- Consistently apply a base coat and top coat.
- To get exactly round polka dots, use a bobby pin.
- Apply reinforcement stickers to French manicures and half-moons.
- To dry wet nails more quickly, dip them into a dish of cold or ice water.
- Use adhesive to outline your nails to remove extra nail polish.
- Use a toothpick to apply studs or rhinestones.
- Use tape to draw precise lines; make sure the polish is completely dry before placing the tape on top.
- Use nail polish and a cosmetic sponge to make ombre nail art.
STEP-BY-STEP nail art for beginners
Pastel Tips
You will adore this lovely pastel tips nail art design if simplicity is your thing and pastels are your jam. It is quite simple to make and will draw attention to your hands. Learn how to master this design by reading the steps below.
Start by drawing a pastel line at the tip of your nail using scotch tape. Carefully trim small strips of tape and apply them to your nails, ensuring only the tip is exposed. Then, paint your chosen pastel or alternative color on the exposed tips. After the paint has fully dried, gently remove the tape. Be patient to avoid any mess. Finish off your simple nail art creation by applying a topcoat for protection and a polished look.
Dots in the void
We’ll simply say it: this one is for individualists as well. Yes, we have an unhealthy obsession with simple nail art designs. Negative space designs are really simple to make and are seen to be quite fashionable and elegant. So let’s learn how to make this if you’re on board with our minimalist nail art design.
- Begin by applying a base coat to protect your nails and enhance the overall design. You can choose to add a nude nail color or proceed directly after the base coat.
- Using a toothpick dipped in black nail paint, create small, even dots on each nail, leaving some space between the dot and the cuticle.
- For the next step, paint a second dot directly over the first one using a toothpick dipped in white nail polish.

Beautiful leaves
Adore all things green and floral?
Your eyes and nails will be delighted by this lovely and straightforward nail art design! Here’s how to do it correctly:
Step 01: To begin, use nail polish remover to get rid of any old colour. Next, use a foundation coat, and allow it to dry.
Step 02: Next, carefully apply two coats of a white or bare nail polish, preferably one that is glossy. Give it enough time to finish drying.
Step 3: Place some blue nail paint on a tray and use the tip of a toothpick to create the leaves. Start with a curved straight line, then add small dots that resemble leaves all around.
Step 4: Apply the top coat after it has dried, then show off those nails!

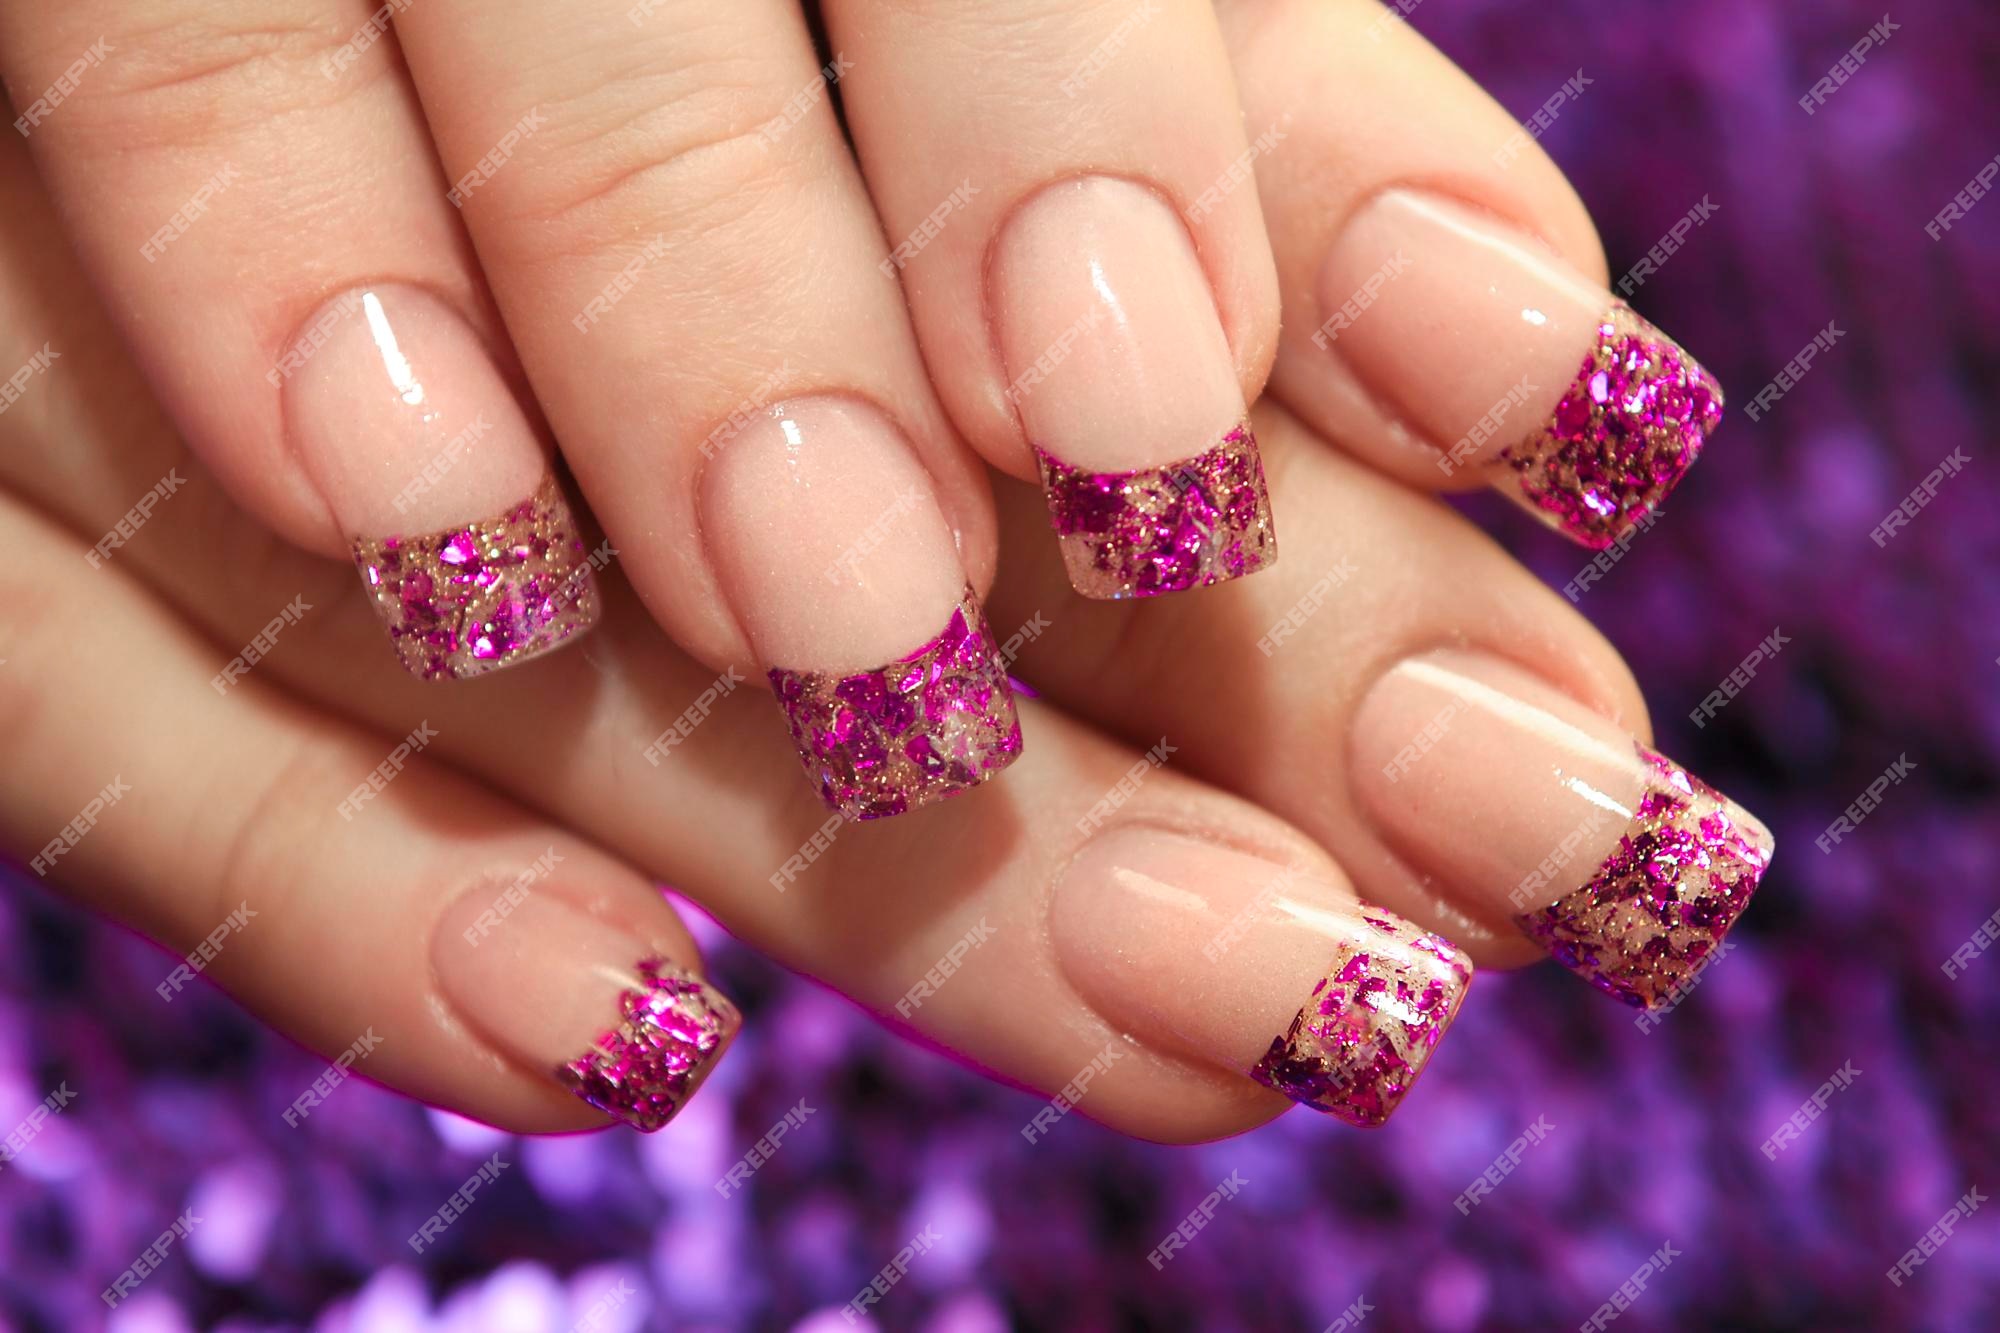
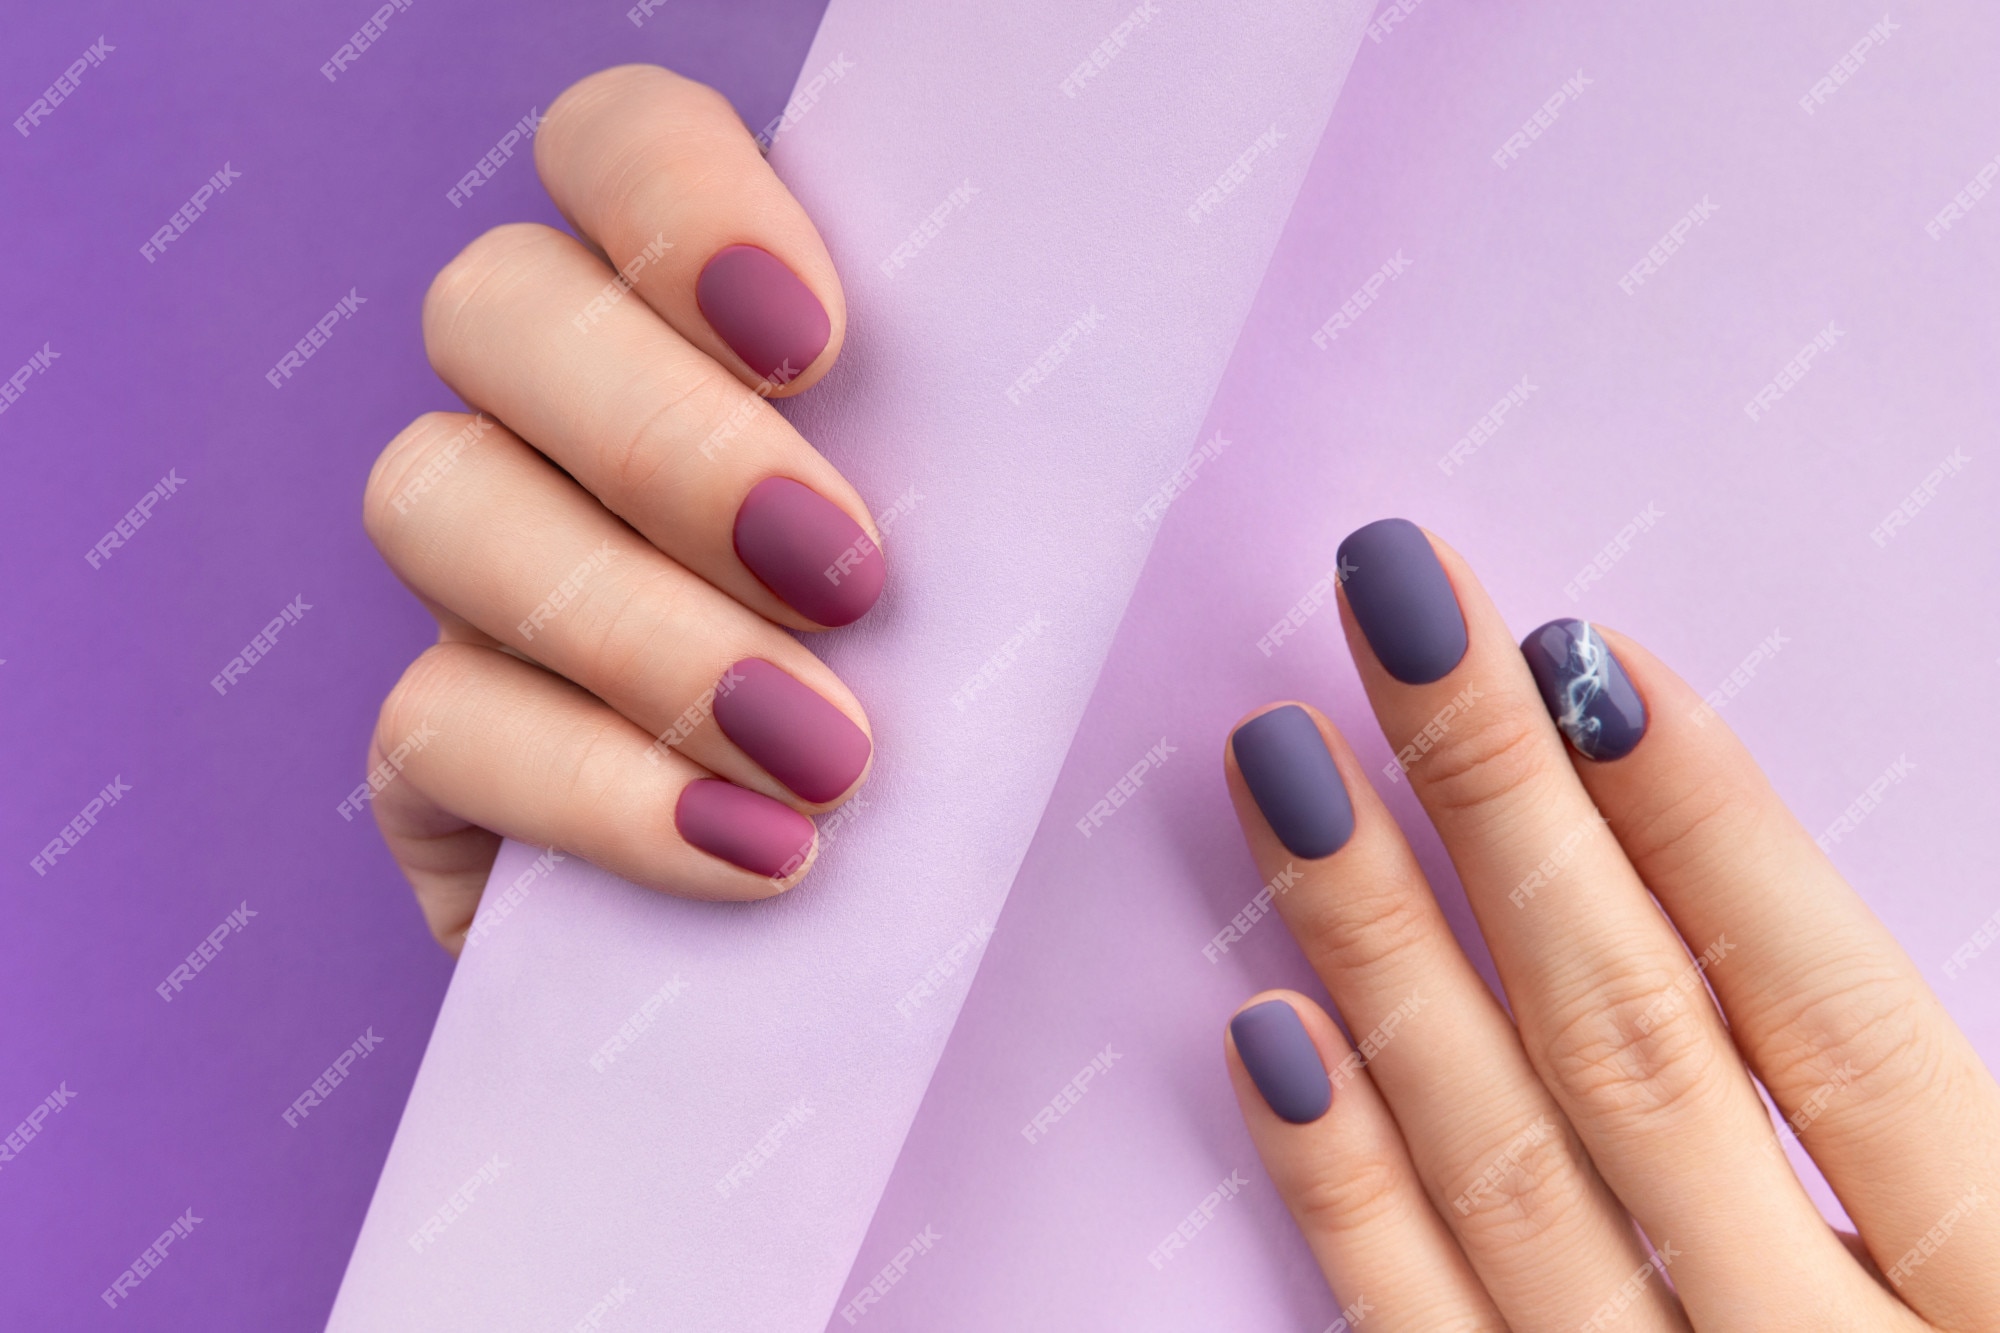
Matte result
The appeal of matte nail colors cannot be denied. You may use some that you have lying around in your collection of nail polish to make this gorgeous nail art design in just a few easy steps. To do it perfectly, you’ll also need glitter nail polish.
Begin by painting your nails with two coats of polish. You can use two similar colors or stick to one. After finishing the nail polish, start creating your nail art. Use the gold nail polish to draw horizontal lines on the tips of each nail. To give your nail art a finishing touch and protect it, apply a top coat of matte nail polish if you have one.
Try out these tricks and instructions to up your nail game if you’re ready to dip your toes into the world of nail art!