
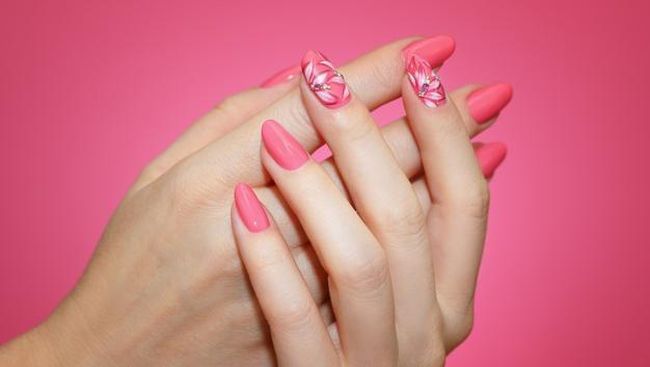
A gradation of colours is formed in an ombré manicure, much like it is in ombré hair. The top of the nail starts off bright and gradually turns darker as it approaches the tip. Although it can take some time and experience to achieve the ideal ombré effect, there is a lot of potential for creativity to make your ombré effect stand out. You can experiment with a variety of colours, apply tapes, or create other patterns to give your nails a distinctive look. What if, though, this is your first time trying ombre nail art? So, you’re in the right place then! We’ll go into great detail on how to do ombre nail art.
Basic Materials for Ombre Nail Art
- Two distinct nail paint hues
- A topcoat in clear
- A sponge fragments
- Remover of nail polish
- Fabric swabs
Instructions
- Assemble all of your supplies. Any colour of nail polish will do; just keep in mind that you need one light and one dark hue.
- First, use nail polish remover and cotton swabs to remove any old polish.
- Next, cover each nail with your lighter shade as a base coat. If necessary, you can use two coats of paint. Allow it too totally dry.
- The ombre now enters the picture. You can use a plastic sheet or any other smooth, disposable surface to transfer some of your darker nail paint.
- After that, apply nail paint to the ends of your nails using a sponge that has been dipped in it. On each nail, repeat it.
- After it has dried, apply a clear topcoat to protect your nail art.
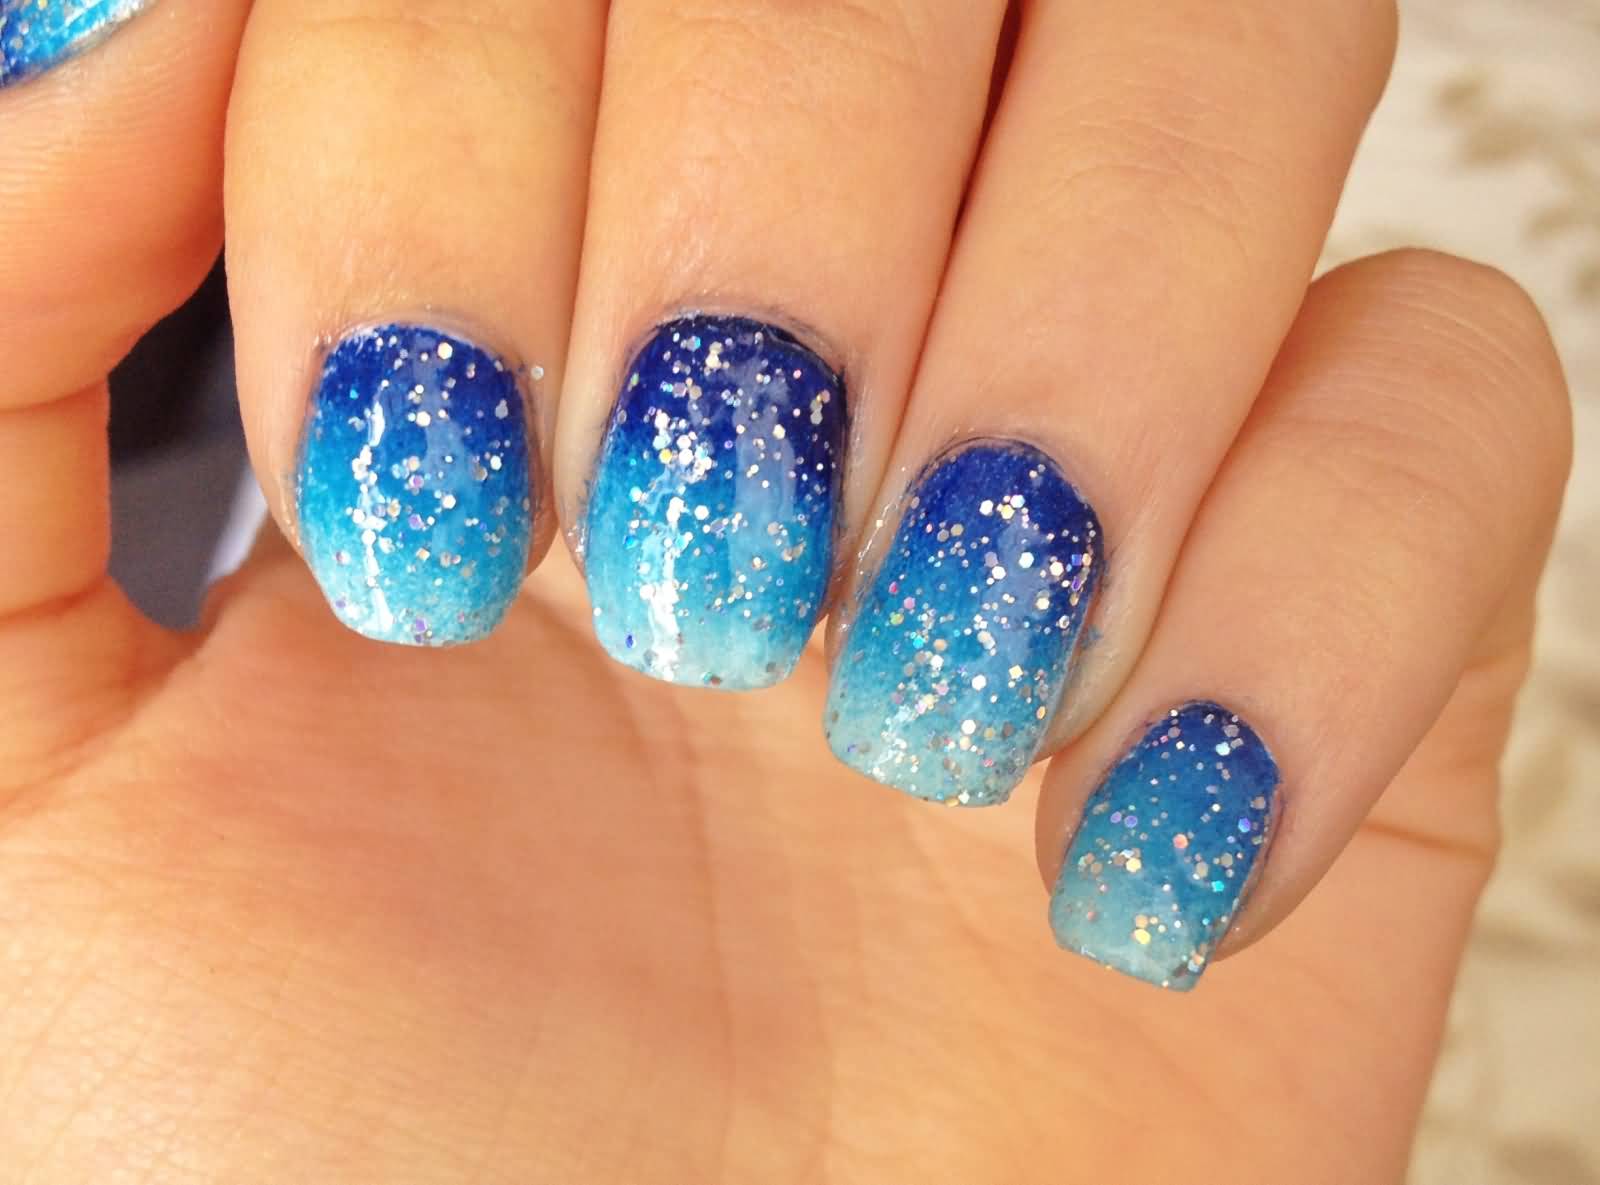
Ombre Glitter Nails
Instructions:
- Applying sparkles in a gradient will add some variety as opposed to applying them uniformly. You can do this with either clear nail paint and loose glitter or glitter nail polish. With a sponge, you can easily apply both products.
- First trim your fingernails. You want a lovely, clear canvas whenever you paint your nails.
- Use a cotton ball that has been lightly dipped in nail polish remover to remove any residual nail polish that is currently on your nails.
- Use nail clippers to trim your nails to the length you choose. If you want your nails to be even shorter, file them down even more. Also, round off the edges of your nails.
- Put on a transparent base coat. To prevent the colour from colourful nail polishes staining your nails, paint on a clear base layer. Your manicure will last longer if you use a clear foundation since fewer polish chipping will occur.
- Your base colour should be painted on all of your nails. It’s entirely up to you what colour you choose to use as your basis. Consider applying two thinner layers of polish rather than one thick, heavy coat to create a strong base. Wait between applications for roughly 5 to 10 minutes to give the polish time to completely dry.
- Remove the brush from the bottle and use it to wipe the inside of the bottle’s neck to get most of the glitter polish off. For your first coat of glitter, you want very small glitter on the brush. Ensure that the top of your nail, close to your cuticle, is barely specked with glitter before painting the entire nail. Given that it will be covered in glitter anyhow, the bottom part of your nail can have a little more glitter.
- This time, wipe off the brush a little less so that it has a little more glitter on it. Focus on adding more glitter to the end tip of your nail while you paint the lower portion of your nail. Give your nails a minimum of 10 minutes to completely dry.
- To protect your nails and even out the surface of your nails, paint on a clear topcoat.
Moon Half Ombre
This manicure design, a straightforward variant of the two-tone ombre, will garner compliments. A round nail guide is the only addition. Although I made this manual using paper tape, you can readily find these manuals on the market. It would be ideal if you had a French manicure tip. Following are some easy steps for the nail art:
Instructions:
- Let it dry after applying a base coat.
- Apply the circular guide to your nails.
- Spread the ombre colour. The best finish is achieved by repeating this procedure.
- Apply the topcoat after removing the nail guide.

Numerous Tone Ombre
- Use your imagination and a variety of colours.
- Utilizing a sponge, try applying four or five different colours. We’ll need a base coat of white matte nail polish for this nail art.
- After two coats, allow it to dry. Take four nail polish colors—for example, pink, blue, purple, and green—and mix them together.
- Apply each with a sponge and try out imprints that are vertical, horizontal, and diagonal.
Glaxy Nail Art
The same sponge technique is used for these galaxy nails. In addition to a little glitter, following are the steps.
Instruction:
- Put one coat of royal blue paint on your nails. Since we’ll be using the sponge to apply numerous extra coats of polish, we only need one layer as a base here.
- Apply white and pink diagonally over the nail using the sponge at this point.
- Apply yellow, green, red, and black after that one at a time.
- Finally, add a topcoat that dries quickly to complete our galaxy-themed nails.
- Additionally, you might use a striping brush to create some stars.
Heart Ombre
The Ombre Heart is a new strategy you can use.
Instructions:
- Fold a piece of Scotch tape in half.
- Cut off the heart after drawing half of it.
- Paint the sponge red and white after putting on your nails. Once you’ve applied your nails with a sponge, you’re done.
- As an alternative, you can paint the heart white after applying a white, red ombre on your nails. In either case, it’s a very clean and adorable design. 🙂
Sweet Melon Nail Art
The light pink and scarlet colours of the sweet melon go together perfectly.
Instructions:
- Simply paint the colours onto a sponge after the base coat has dried.
- Apply manicure polish to each nail two to three times, then add some glitter and silver hearts for the finishing touch.
Neon Rainbow Nail Art
Instructions:
- After applying a base coat, a crazy coat, and the liquid latex, just paint four different colours (purple, blue, yellow, and orange) into a sponge for this neon rainbow nail painting.
- The rainbow’s colours are made more vivid by the wild coat.
- Simply paint the sponge again as you go and then sponge on your nails.
- When finished, use a brush or remover to get rid of any extra.
- Put on the topcoat and take pleasure in this summery reminder!