
One of the most essential instruments in the manicure industry are nail art brushes. Regular cleaning is crucial, as you may have experienced when reaching for a brush and discovering a clump of dried substance. Wipe your brushes periodically while you apply gel polish or acrylic pigment to preserve them in excellent condition. To ensure that your brushes are always prepared for nail art, thoroughly clean them after each set to remove all of the product from the bristles.
It’s important to look after your high-quality nail art brushes after purchasing a set. When brushes are thoroughly cleaned after use and stored securely, they will last considerably longer. Bristle damage is one of the drawbacks of careless brush handling. Bristle damage is one of the drawbacks of careless brush handling. That may take the form of the bristles breaking and warping or the sharp brush tip spreading.
But don’t worry, we’re here to help by describing two common cleaning methods for conventional nail polish. Don’t worry if taking care of your brushes looks intimidating. Learning how to clean nail art brushes after use is a process, and like with everything, practise makes perfect.

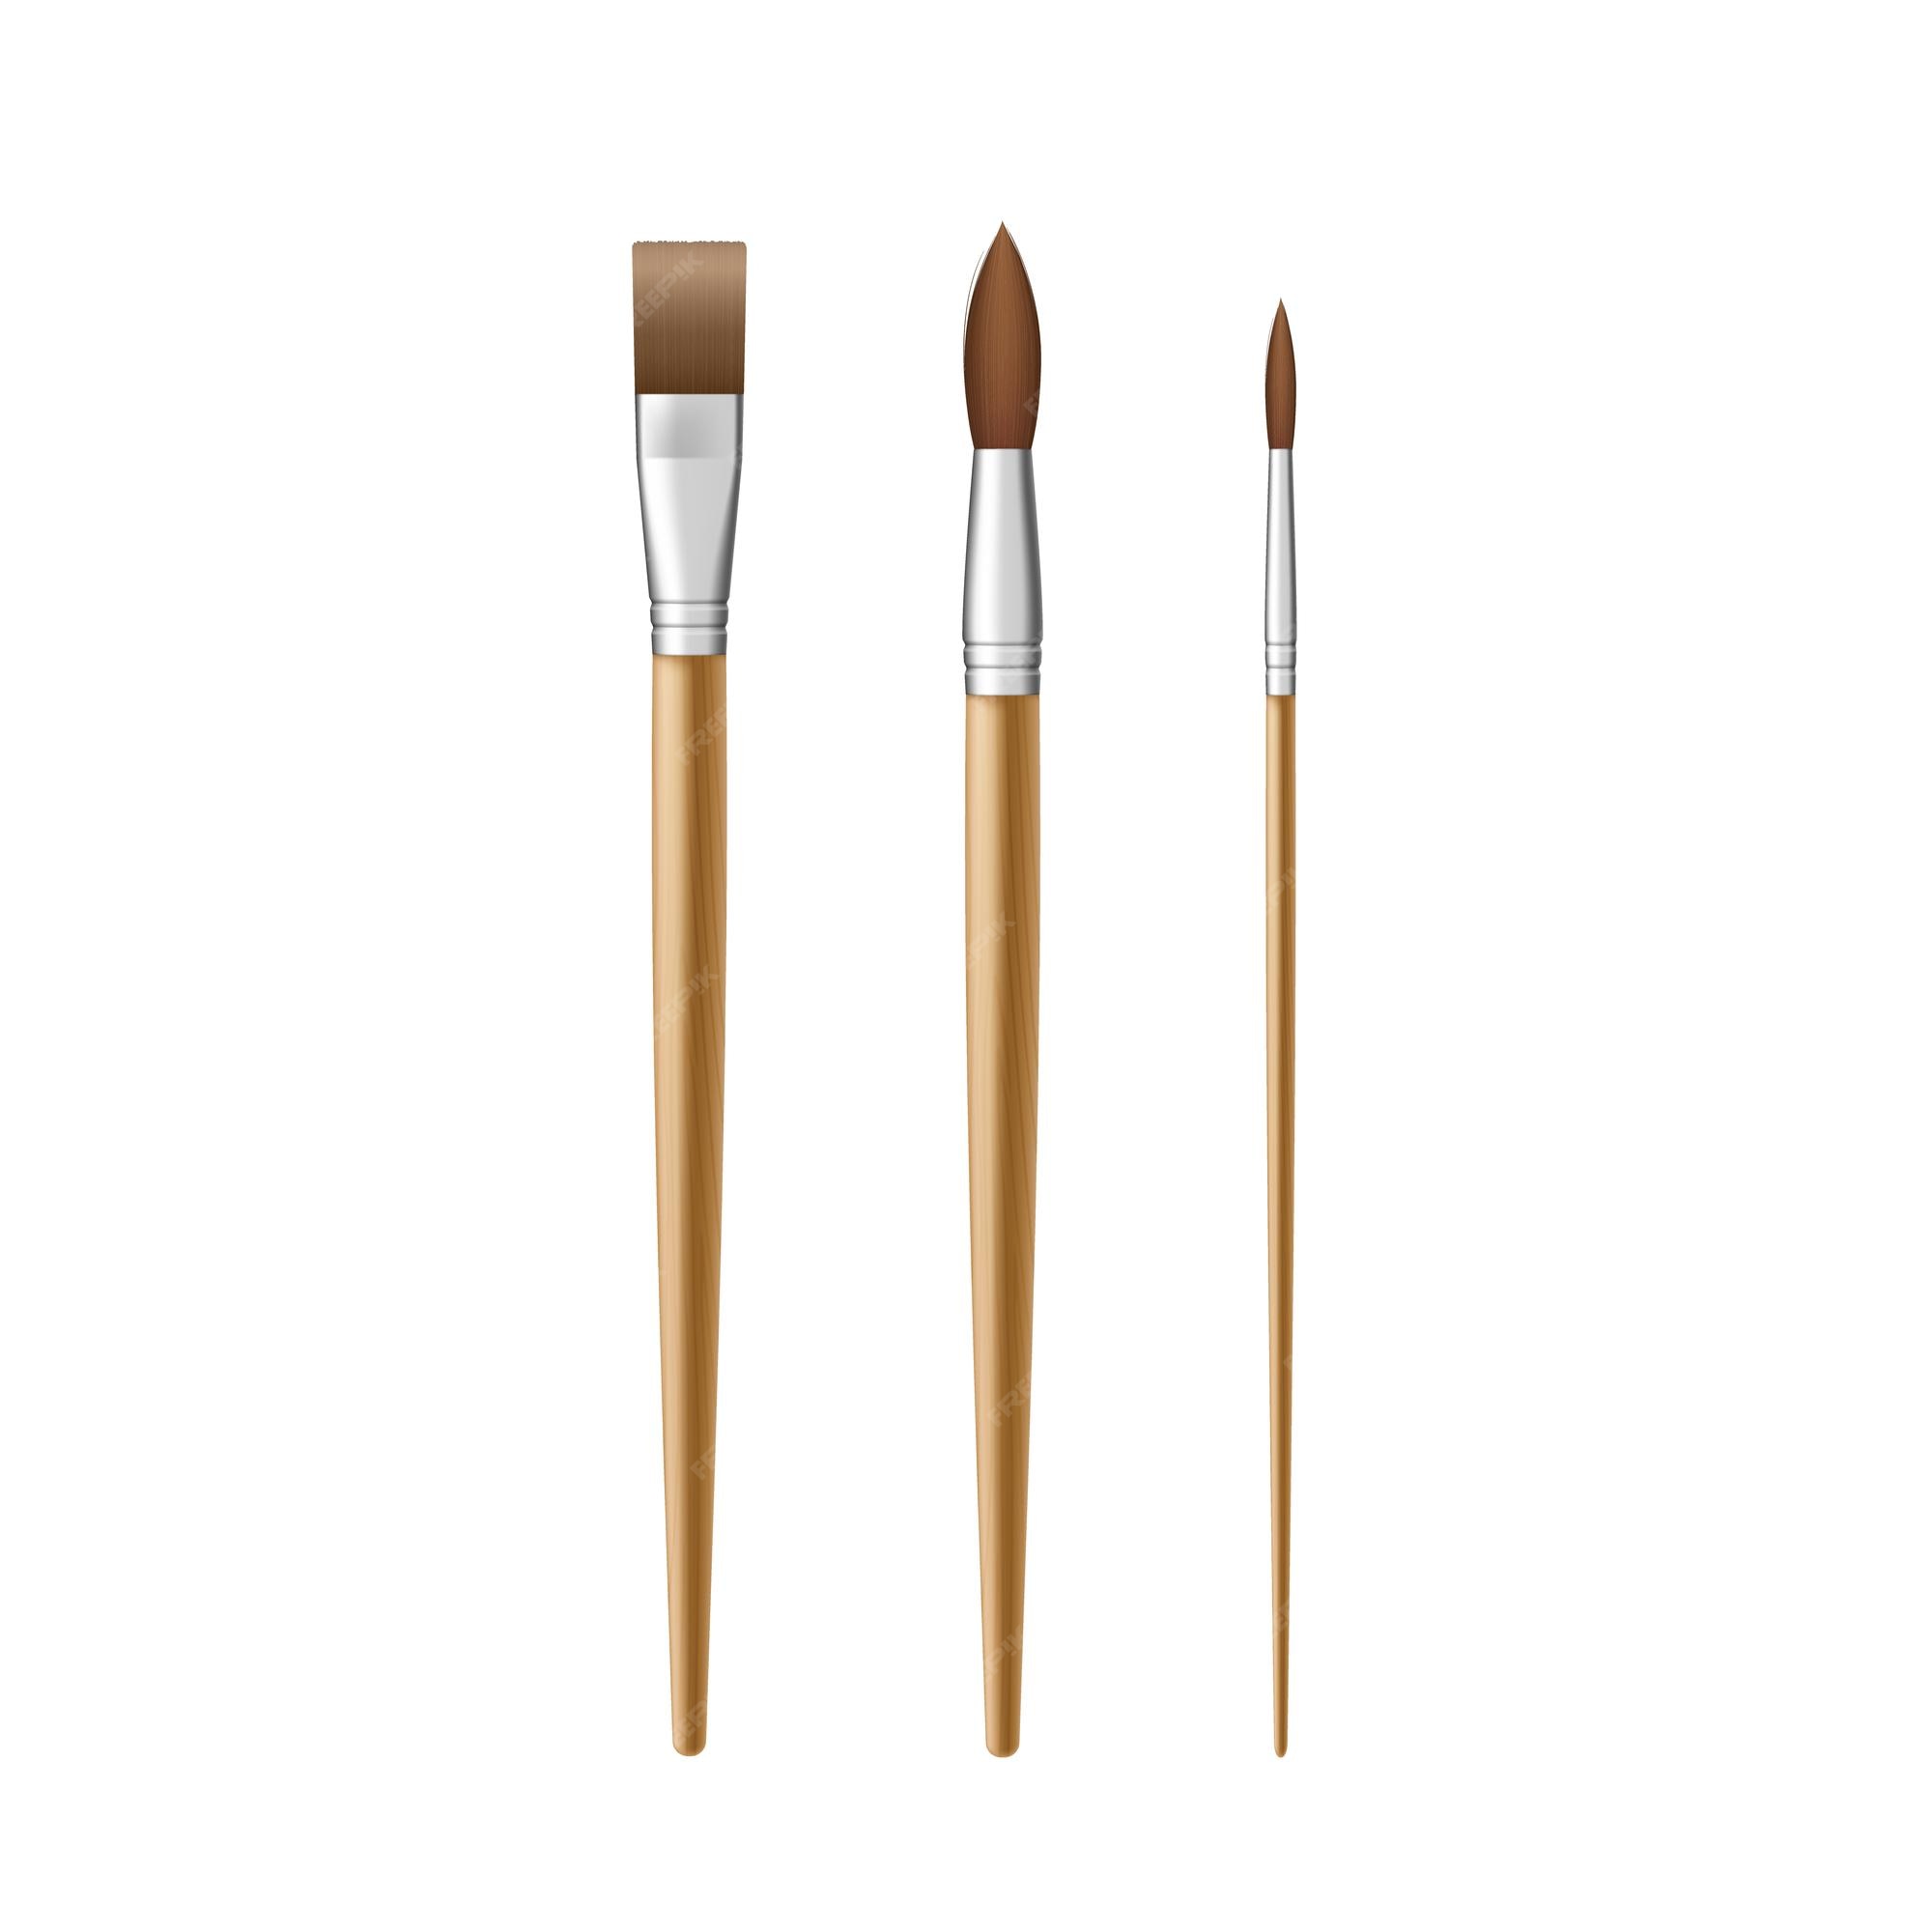
BRISTLE’S TYPE
Your choice of cleaning agents will depend on the sort of bristles your nail art brushes have. The best option for the synthetic and vegan bristles used in Picture Polish brushes is an acetone-free remover. The brushes are gently cleaned of excess polish by That Remover without being harmed. The conditioner in that Remover also aids in smoothing the strands.
It could take a little bit longer to remove polish when using That Remover or similar acetone-free nail polish remover. The benefit is that your brushes continue to be damp. So use an acetone-free cleaner like That Remover to safeguard your investment.
STEPS OF CLEANING NAIL BRUSHES
Making the handle clean
Occasionally getting your brush’s handle covered in nail paint. Picture Metal handles on polish brushes make cleanup simple. To get rid of any accidental lumps, mix a little That Remover with a makeup pad. You won’t unintentionally spread polish that is still wet by commencing your cleaning operation with the handle.
Polish: Dry vs. Wet
It is considerably simpler to clean wet polish than dry, despite the fact that there are two widely used methods for doing so. In actuality, thoroughly drying polish on your brushes may quickly damage the bristles. Simply refrain from doing it, or try not to do it frequently. Sometimes it’s challenging to recall.
Swishing
Pouring a small bit of That Remover into a tiny glass dish is the first widely used method of brush cleaning. Glass shot glasses or votive candle holders are sometimes used by nail artists. To swish the bristles without bending them against the glass, there should be enough depth. The Liner Brush, for instance, would require more depth than The Detail Brush.
Swish the bristles for 5–10 seconds until you’re ready to go on, and then dab any remaining liquid with a lint-free cloth. Continue until the brush is thoroughly cleaned. Repeat this procedure using water instead of nail polish remover if you’re using acrylic paint for your nail art.
Bonus Tips: Don’t entirely immerse your bristles, the outcome of soaking the brush up to the handle can affect the bristle.
Makeup Brush
Glitter-heavy polishes work nicely with the second brush cleaning method. Put the bristles on the moist area of a lint-free makeup pad after adding That Remover to it. Gently rub the bristles while folding the pad over them, working your way up to the tip. Take care not to press too firmly as you repeat this process until the brush is clean. You want to avoid flattening the bristles at all costs! Repeat this procedure using water rather than nail polish remover if you’re using acrylic paint for your nail art.
Bonus Tip: You can also clean your dotting tools with this method.
Cuticle Oil
Before storing your nail art brush, add some cuticle oil to the bristles to help keep it in good condition. The bristles can then be shaped back into place using two fingers.
Squeeze the Cap!
Using the provided caps on your brushes is the best way to protect them. Because it’s challenging to maintain cleanliness when collections are overflowing and brushes occasionally tumble off desks and tables. Therefore, close that cap whenever your brushes aren’t in use! When brushes unintentionally drop to the floor or become buried in a drawer, it is a brush-saving action.
TIPS
- Pour acetone into a small dish, dunk the brush in it, then swish it around to get the polish off if you want to clean the brush from a nail polish bottle. After drying, place the brush back into the container.
- If your brushes are frayed or the bristles are falling out, check them and throw them away. Trying to create intricate nail art with brushes that lose their shape is challenging.
- Instead of using natural acrylic nail brushes, clean your synthetic ones according to the directions for gel brushes.
WHERE TO KEEP YOUR NAIL ART BRUSHES:
Start by investing in nail brush storage, such as a box or a pouch, depending on your preference for keeping them secure. To prevent damage to the bristles, many brushes come with coordinating caps or tiny plastic tubes. In order to protect the bristles, nail art brushes should be kept separate from your other supplies in a brush case or implement box.
To store it lint-free and away from dust, place it in an acrylic box with a cover. Storage of the brush should be done either sideways or downwards to avoid dust from adhering to the bristles, depending on how dry the environment is and whether or not there is a lot of monomer sitting still inside the brush. You may also use a dust cover to keep your nail art brushes clean.
Now that you can store them neatly and have them available for use whenever you have an appointment or need to practise your abilities, cleaning your favourite nail art brushes shouldn’t be a burden any longer. It’s one of the best strategies for a nail tech to reduce stress.
We hope these pointers should assist you in maintaining your nail art brushes. Stay Blessed!