
A Complete Guide on How to Clean Your Eyelash Curler for Healthy, Beautiful Lashes
Maintaining a clean eyelash curler is essential for preventing bacterial growth and potential eye infections. While we often focus on cleaning makeup brushes, the eyelash curler is a tool that deserves attention too. In this comprehensive guide “How to clean your eyelash curler”, we’ll walk you through simple steps to ensure your eyelash curler stays hygienic and ready for use.
What’s an Eyelash Curler and Why Use It?
An eyelash curler is a nifty beauty tool designed to lift and curl your lashes, making your eyes appear wider and more awake. It’s like a magic wand for your lashes! Using an eyelash curler can instantly enhance your look without the need for fake lashes or extensions.
How to Use an Eyelash Curler?
Start with Clean Lashes
Make sure your lashes are clean and dry before using the curler. Any leftover mascara can lead to clumps and damage.
Warm Up the Curler
For an extra lift, warm the curler slightly with your breath or a hairdryer (set to low heat) for a few seconds.
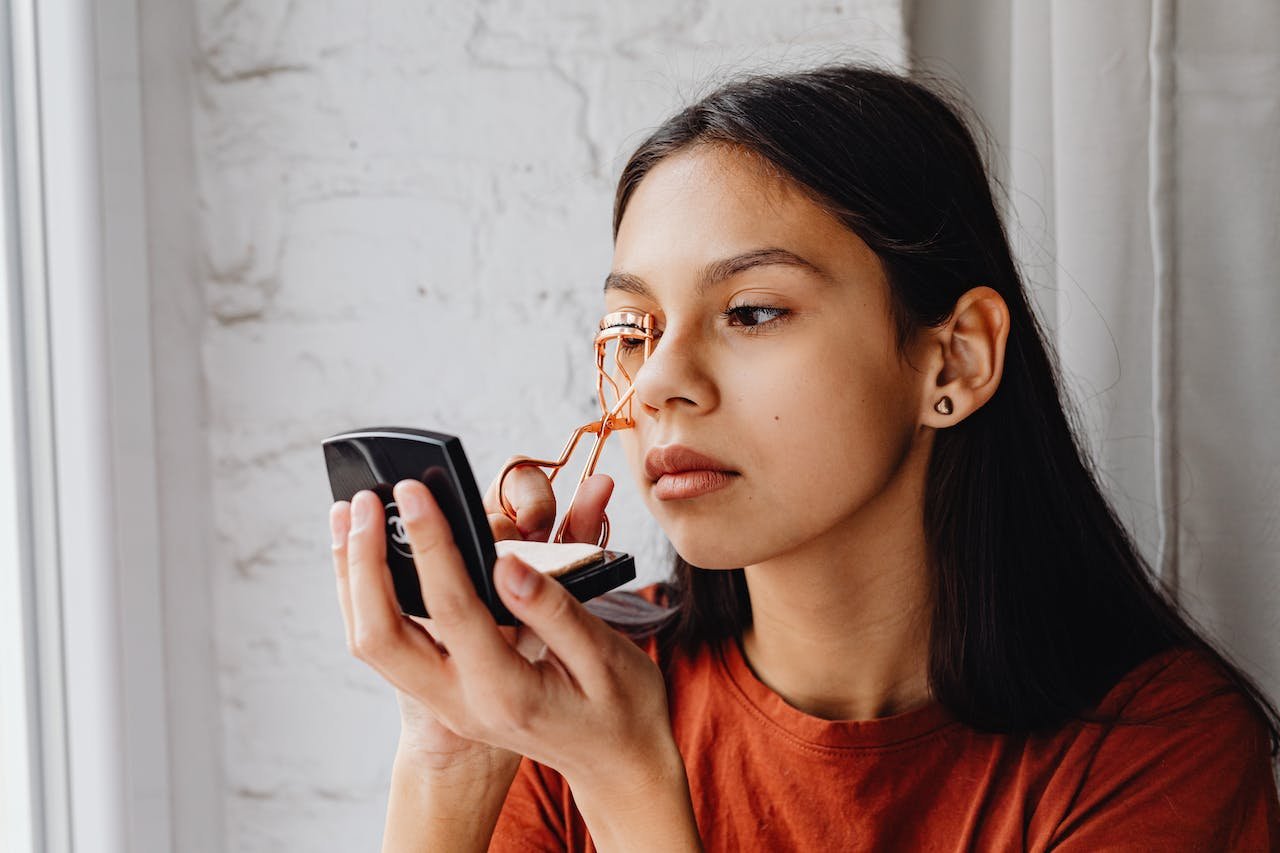
Positioning Matters
Open the curler and position it close to the lash line, avoiding tugging or pulling.
Curl Gently
Close the curler gently, holding it for 5-10 seconds. Avoid squeezing too hard to prevent damage.
Repeat if Needed
For a more dramatic curl, you can repeat the process, moving outward along your lashes.
Common Mistakes to Avoid
Curling After Mascara
Curling after applying mascara can cause breakage and clumping. Always curl before applying mascara.
Skipping Cleaning
Regularly clean your eyelash curler to prevent bacteria buildup, ensuring healthy eyes.

How to Clean Your Eyelash Curler?
Method 1: Cleaning and Disinfecting the Curler
Dip a cotton ball in rubbing alcohol
Start by saturating a cotton ball with 70% isopropyl alcohol. This is an effective way to disinfect the metal surfaces of your eyelash curler.
Wipe the curler all over with the cotton ball
Thoroughly cover all surfaces, including metal, handles, and the rubber pad. Rotate the cotton ball to ensure you’re using a clean area.
Rinse the alcohol away with cool running water
After wiping with alcohol, rinse the curler under cool running water to prevent the alcohol from drying out the rubber strip.
Dry the eyelash curler with a soft, clean towel
Pat the curler dry with a towel, ensuring water is removed from the joints. Avoid air-drying to prevent rusting.
Remove stubborn gunk with a blowdryer and a soft cloth
If there’s sticky residue, heat the curler with a blow dryer for 30 seconds, then wipe away with a soft cloth or cotton ball soaked in alcohol.
Use an orangewood stick for crevices
For tight spots, use an orangewood cuticle stick wrapped with cotton soaked in oil to clean out any remaining gunk.
Method 2: Keeping the Curler Clean
Don’t curl your lashes after mascara
To prevent mascara residue buildup, curl your lashes before applying mascara. This ensures a cleaner curler and healthier lashes.
Wipe down the curler with alcohol after each use
Even if you curl your lashes before mascara, wipe the curler with alcohol to remove any makeup residue or oils from your skin.
Replace the rubber pad every 3-6 months
Regularly replace the rubber pad to avoid bacterial accumulation. Purchase replacements from a beauty supply store or the manufacturer’s website.
Conclusion
Maintaining a clean eyelash curler is quick and easy, promoting eye health and preserving the longevity of your lashes. Follow these steps regularly to enjoy beautiful, clump-free curls without the risk of infections. Keep your eyelash curler in top-notch condition, and your eyes will thank you.