
How to do your eyebrows?
Grooming and shaping your brows doesn’t have to be difficult. You can simply keep your brows looking healthy and fashionable once you know how to shape and fill them in. According to experts, brows serve two functions: keeping moisture out of our eyes and communicating emotion. It’s truly astonishing how big of an influence brows have. If your hair is excessively thin, unmanageable or whatever, your face symmetry will be thrown off! So, to ensure your brows are constantly on point, handing out to you our favorite techniques – read on to learn how to do your eyebrows.
DISCOVER YOUR SHAPE
Everyone’s brows are different, and there is no one ideal shape. However, brows should start just above the nostril line, have a tiny arch above the far side of the pupil and end on an angle. You can play around within those loose guidelines, boosting your natural form to make it a bit thicker, thinner or more angled.
AN OUTLINE OF EYEBROW SHAPES
Eyebrow shaping is mostly concerned with choosing the optimal brow for your facial shape. Using an eyebrow stencil, take cues from the natural shapes of your brow line.
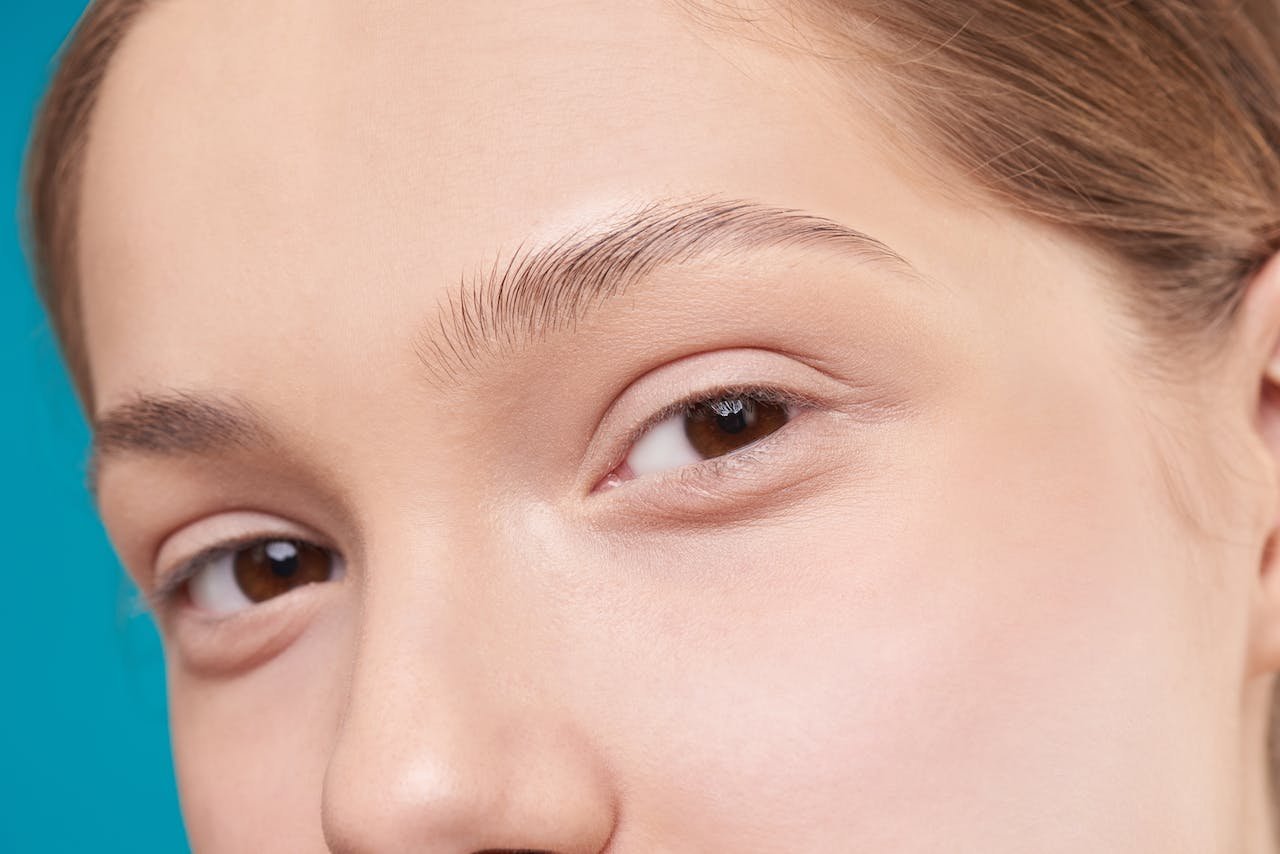
Full brows or natural brows
A natural brow shape embraces your brows’ natural shape. Full brows may still necessitate upkeep, such as trimming or plucking stray hairs.
Curved or arched
Naturally arched or softly rounded brows can complement faces with sharp or angular features.
Unambiguous
Straight brows can have a natural arch that is very slight or none at all. Brushing them regularly gives them a boost.
Hard or soft angled
An angled brow can add dimension to a round face by having more or less of a center peak to generate various levels of drama and definition.
Tapered
The initial two-thirds of a tapered brow are focused, tapering off as they approach the edge of the eye. When done correctly, it can appear to be a hybrid of different designs, embracing the fullness of your natural arches while adding definition.
EYEBROW SHAPING TECHNIQUES
Plucking
Plucking brows entails tweezing individual hairs to form the brows. It is frequently reserved for stray hair maintenance over or beneath the brow contour since it may be time-consuming and risky to pull off evenly.
The waxing
Waxing the brows includes eliminating hairs at the root by running a strip of heated wax along the brow line and quickly peeling it off in the opposite direction of hair development. The benefits include rapid, efficient results and a long-lasting smooth surface, but the drawbacks include redness and irritation right after.
Sugaring
While it is similar to waxing in concept, sugaring is usually indicated for more sensitive skin or finer hair. A gel paste of sugar, lemon juice, water and glycerin is applied, and hair is removed in the same direction as hair development, providing less pain and pulling on the skin.
Threading
Threading is an Asian technique that is becoming increasingly popular. A fine cotton string is twisted and rolled across portions of the brow, allowing for precise sculpting and removal. Threading is similar to plucking in that it addresses entire rows of hair at once.
Micro-needling
Microneedling is a low-maintenance, semi-permanent technique of brow shaping that use a super-fine needle to draw strokes of realistic-looking hair along the brow line. Microblading, unlike tattooing, does not penetrate the skin and employs a medical-grade pigment that lasts roughly 18 months. It’s a popular option for brows that have been over-plucked.
Dyeing
Eyebrow tinting is similar to microblading in that it is semi-permanent, but it uses a dye to fill in the shape and color you like. It typically lasts 6 weeks.
STEP-BY-STEP Procedure to do your eyebrows
Regularly wash your face
To style your brows, you must first clean them as part of your regular face-cleansing process. Wash your face before attempting to pluck or “do” your brows as part of your makeup process. Wet a small cloth with warm water and gently wipe it over your brows. If you rub too forcefully, you may rip out some hair follicles.
Find your ideal brow shape
Your brows’ inner corners should be in line with the sides of your nose. You can measure this using a long pencil, a make-up brush, or another object. Align the straight edge with the outside of your nostril and the inner of your eye. Your brow should start where the straight edge is. With the brow pencil, mark this spot. Apply this to both brows.
To decide where your arch should be, look straight ahead and align the straight edge with the outside of your nose and your pupil. Make a note of it. Mark the location where your brow should terminate by aligning the straight edge with the outside of your nose and the outer edge of your eye.
Choose a brow shape that complements your face
Some people would rather choose a shape based on their general face shape than attempt to measure for a mathematical ideal. You can try any of the following designs depending on the size and shape of your face:
Oval Face: A softly angled brow shape
Heart Face: Rounded-shaped brows
Long Face: a flat brow shape
Round Face: brows with high arches
Square Face: Angular or curving brow shape
Diamond Face: curved or rounded brow shape
Unwanted hairs can be removed with tweezers
Pluck any hairs that are outside of your desired brow line. Using the prongs of the tweezers, locate the root of the hair and pull swiftly in the opposite direction of hair growth to entirely remove the hairs.
Create your arches
Pluck a few hairs from the top and/or bottom as desired to achieve the desired shape. Brush your brows up and pluck any hairs beneath your brow line. You can pluck your brows to the desired width.
FORM YOUR BROWS AT HOME
Wash your hands beforehand because you will be touching your face. You will require:
- Proper lighting
- A big mirror
- A magnifying glass
- Tweezers
- Eyebrow pencil
1) Begin by removing all makeup, debris, and natural oils from around and on your brows.
2) Place the brow pencil straight and vertically between your brows, with one end touching the outer corner of your right nostril and the other end running between your brows near to your right brow. Make a pencil mark where the pencil touches your brow to indicate where your brow should begin. Up to this point, you can pluck any hairs between your brows.
3) now, spin the pencil such that it passes diagonally past your pupil while still touching the outside of your right nostril. Make another pencil line where the pencil meets your brow to indicate where your arch should be.
4) Pivot your pencil once more so that the end by your nose remains in the same place but the pencil is aligned diagonally with the outer corner of your eye. The outer corner of your brow should terminate where the pencil meets your brow. Mark the point with your pencil, as you might expect.
5) Steps 2-4 should be repeated on the left brow.
6) Now that your brows are marked, use your tweezer to remove the hairs outside of these lines. Take your time and choose the path of care; examine your brows in a magnifying mirror, but also take a step back and examine them from a distance.
EYEBROW SHAPING TIPS
- Always begin at the inner brow and work your way outward, lightly brushing upward and outward in the direction of your natural hair growth.
- After filling up your brows with powder or an eyebrow pencil, run a spoolie through them to soften any hard lines.
- If your brows get too full or too dark, use a spoolie to brush a tiny amount of face powder into them to disperse the color.
- Your inner brow should be aligned with the inner corner of your eye, and the arch should extend three-quarters of the way across your eye. Follow the natural direction of your brow while shaping the tail end.
- Use brow gel or brow wax to further define the curve of your brows. Brow gel comes in a variety of compositions, but it’s primarily used to darken and shape your brow hairs. Brow wax has a firmer grip and can be used to shape your brow hairs into the desired shape.